
How a Gantry Crane Gets Set Up?
The installation of a gantry crane is never as simple as putting the parts together. Many people mistakenly think that the installation is just a physical work, as long as the main beam, outriggers docked on the line, but do not know that the accuracy of the pre-planning, assembly details, debugging rigor, directly determines the stability and safety of the equipment for the next few years, or even more than ten years of operation.
Many companies because of improper installation, crane running jam, wheel wear too fast, main beam deformation and other problems, not only affects the production efficiency, but also lay hidden security risks. Today, I will take the perspective of a front-line engineer to make the complete process of gantry crane installation clear – from pre-installation planning to final acceptance, the key points of each link, considerations, are combined with the actual conditions of dismantling, to help you avoid the installation of misunderstandings.
Pre-Installation Planning – What Must Be Done Before Setup
The success of installation depends on 70% of the pre-planning. If you skip this step and directly start assembling, it is very likely that you will not be able to install or use the product. Pre-planning should be centered around the three core elements of site, foundation and power supply, and all details should be confirmed in place.
Site Evaluation and Layout Confirmation
The first thing to do is site survey, with the design drawings to check the actual situation. The length, width and height of the working area must be measured accurately, especially the span and running length, without the slightest deviation.
Span is the distance between the outriggers at both ends of the main beam, to confirm whether the site width can accommodate the entire size of the crane, but also set aside the outriggers and the surrounding equipment, wall safety clearance, generally retained at least 50 centimeters, to avoid collision during operation.
The running length is related to the crane’s operational coverage, to confirm that the track laying path (rail-type models) or tire driving area (tire-type models), there are no obstacles such as bumps, depressions, etc., and the ground should be flat, no debris that affects the movement of equipment.
We also need to focus on checking airborne obstacles, such as plant beams and pipelines, to ensure that when the crane is lifted, the hook and the cargo can be lifted smoothly without any interference.
Foundation and Rail Preparation
Foundation is the “foundation” of the gantry crane, especially the rail-type models, the foundation is not solid, subsequent operation is prone to track offset, equipment shaking and other issues.
The strength of the concrete foundation must be up to standard, the conventional requirements of C30 and above, large double girder gantry cranes need more than C40, and maintenance time of not less than 28 days to ensure that the concrete is completely cured. The surface of the foundation should be flat, and the horizontal error should not be more than 2 mm/m, otherwise it will lead to tilting of the track laying.
The positioning of the anchoring bolts is key, and the holes should be drilled in strict accordance with the coordinates of the design drawings, and the perpendicularity and spacing error of the bolts should not be more than 3 millimeters. The bolts should be fixed by secondary grouting after installation, and subsequent track installation can only be carried out after the grout is solidified.
There are clear requirements for the track alignment tolerance of the rail type model, the straightness error of the rail centerline should not exceed 1mm per 2 meters, and the cumulative error of the whole length should not exceed 5mm; the level error of the top surface of the rail should not exceed 0.5mm per meter, and the height difference of the two rails should not exceed 1mm. The ground bearing capacity should also be calculated in advance to ensure that it can withstand the sum of the crane’s dead weight and the maximum lifting load to avoid ground settlement.
Power Supply and Electrical Preparation
The electrical system of gantry crane has high requirements on power supply, unstable voltage and wrong wiring will cause the equipment to fail to operate normally and even burn the motor.
First of all, we should confirm that the voltage and frequency of the power supply meet the requirements of the equipment, conventional industrial gantry cranes are mostly 380V/50Hz, and large equipment may require high-voltage power supply, which should be coordinated and docked with the power department in advance.
Cable routing should be planned in advance to avoid the cable being crushed and pulled. Rail-type models usually use cable reels or skid lines for power supply, and the channel for cable laying should be reserved to ensure that the cables can be smoothly expanded and contracted with the crane operation without the risk of entanglement.
Grounding system is the core of electrical safety, must be set up separately grounding pole, grounding resistance can not be greater than 4 ohms. Grounding cable should be multi-stranded copper core wire, cross-section area of not less than 16 square millimeters, the connection point should be firm, good anti-corrosion treatment to avoid poor contact after long-term use.

Delivery and On-Site Inspection
After the equipment is shipped to the site, don’t rush to unpacking and assembly, first do a comprehensive inspection to confirm that all parts are intact, complete, to avoid subsequent assembly to half of the problems found, delaying the work schedule.
Component Verification
Check each component one by one against the delivery list: main beam, outrigger, lifting mechanism, trolley, electrical control cabinet, bolts, pins and so on, to make sure there is no omission.
Focus on checking the structural integrity of the main beam and outriggers, checking whether there are cracks, pores and other defects in the welds, whether the surface paint is intact, and whether there is any deformation caused by the transportation process. The motor, reel and wire rope of the hoisting mechanism should be carefully inspected, and the wire rope should not have broken wire or corrosion, and the motor junction box should be sealed and intact, with no traces of water ingress.
The components of the electrical panel should be complete, with no damage to the indicator lights, buttons, circuit breakers, etc., and the wiring should be firmly connected, with no looseness or detachment. If you find any damaged or missing parts, contact the manufacturer for replacement in time, and do not use defective parts reluctantly.
Pre-Assembly Checks
Before formal assembly, you should also do pre-assembly checks on key components. For example, check whether the connecting flange surface of the outrigger and the main beam is flat, and the fitting degree should be more than 90% without obvious gaps; the threads of the high-strength bolts should be intact without corrosion or deformation, and the supporting nuts and washers should be complete.
Check the braking system of the lifting mechanism, manually rotate the reel, the brake should be sensitive, reliable, no stagnation phenomenon; the wheels of the trolley should rotate smoothly, the bearings do not have abnormal noise.
Also check the anticorrosion condition of the equipment, especially for outdoor use of gantry cranes, the bottom of the outrigger, bolt joints and other corrosion-prone parts, make sure that the anticorrosion coating is intact, there is no bare metal surface, and the anticorrosion paint can be repainted if necessary.
Step-by-Step Gantry Crane Installation Process
After doing the pre-preparation and inspection, you can enter the formal installation process. The entire process should be carried out step-by-step, and each step must be inspected and passed before proceeding to the next step, and should not be rushed.
Step 1 – Install Runway Rails (For Rail-Mounted Gantry Cranes)
Installation of runway rails for rail-mounted gantry cranes is one of the links with the highest precision requirements. Excessive deviation of the runway installation will lead to fast wheel wear when the crane is running, and even the risk of derailment.
First of all, the line should be placed according to the position of the design drawings to determine the centerline of the track, and mark the foundation with an ink line. When the track is laid, the track should be placed on the pad first, adjust the position and level of the track, and measure point by point with a level meter to ensure that the top surface of the track is level and the height difference between the two tracks does not exceed the allowable range.
The gauge of the track (distance between two rails) should be precisely controlled, and the error should not exceed ±2mm. The rail butt joints should be flat, with gaps not exceeding 1mm and height differences not exceeding 0.5mm, to avoid impacts when the crane wheels pass through.
The track is fixed with pressure plates or bolts, and fixed every 60-80 centimeters to ensure that the track will not be loose and shifted. After the fixing is completed, the straightness, levelness and gauge of the rail should be fully checked again, and all parameters are in line with the requirements before subsequent equipment installation.
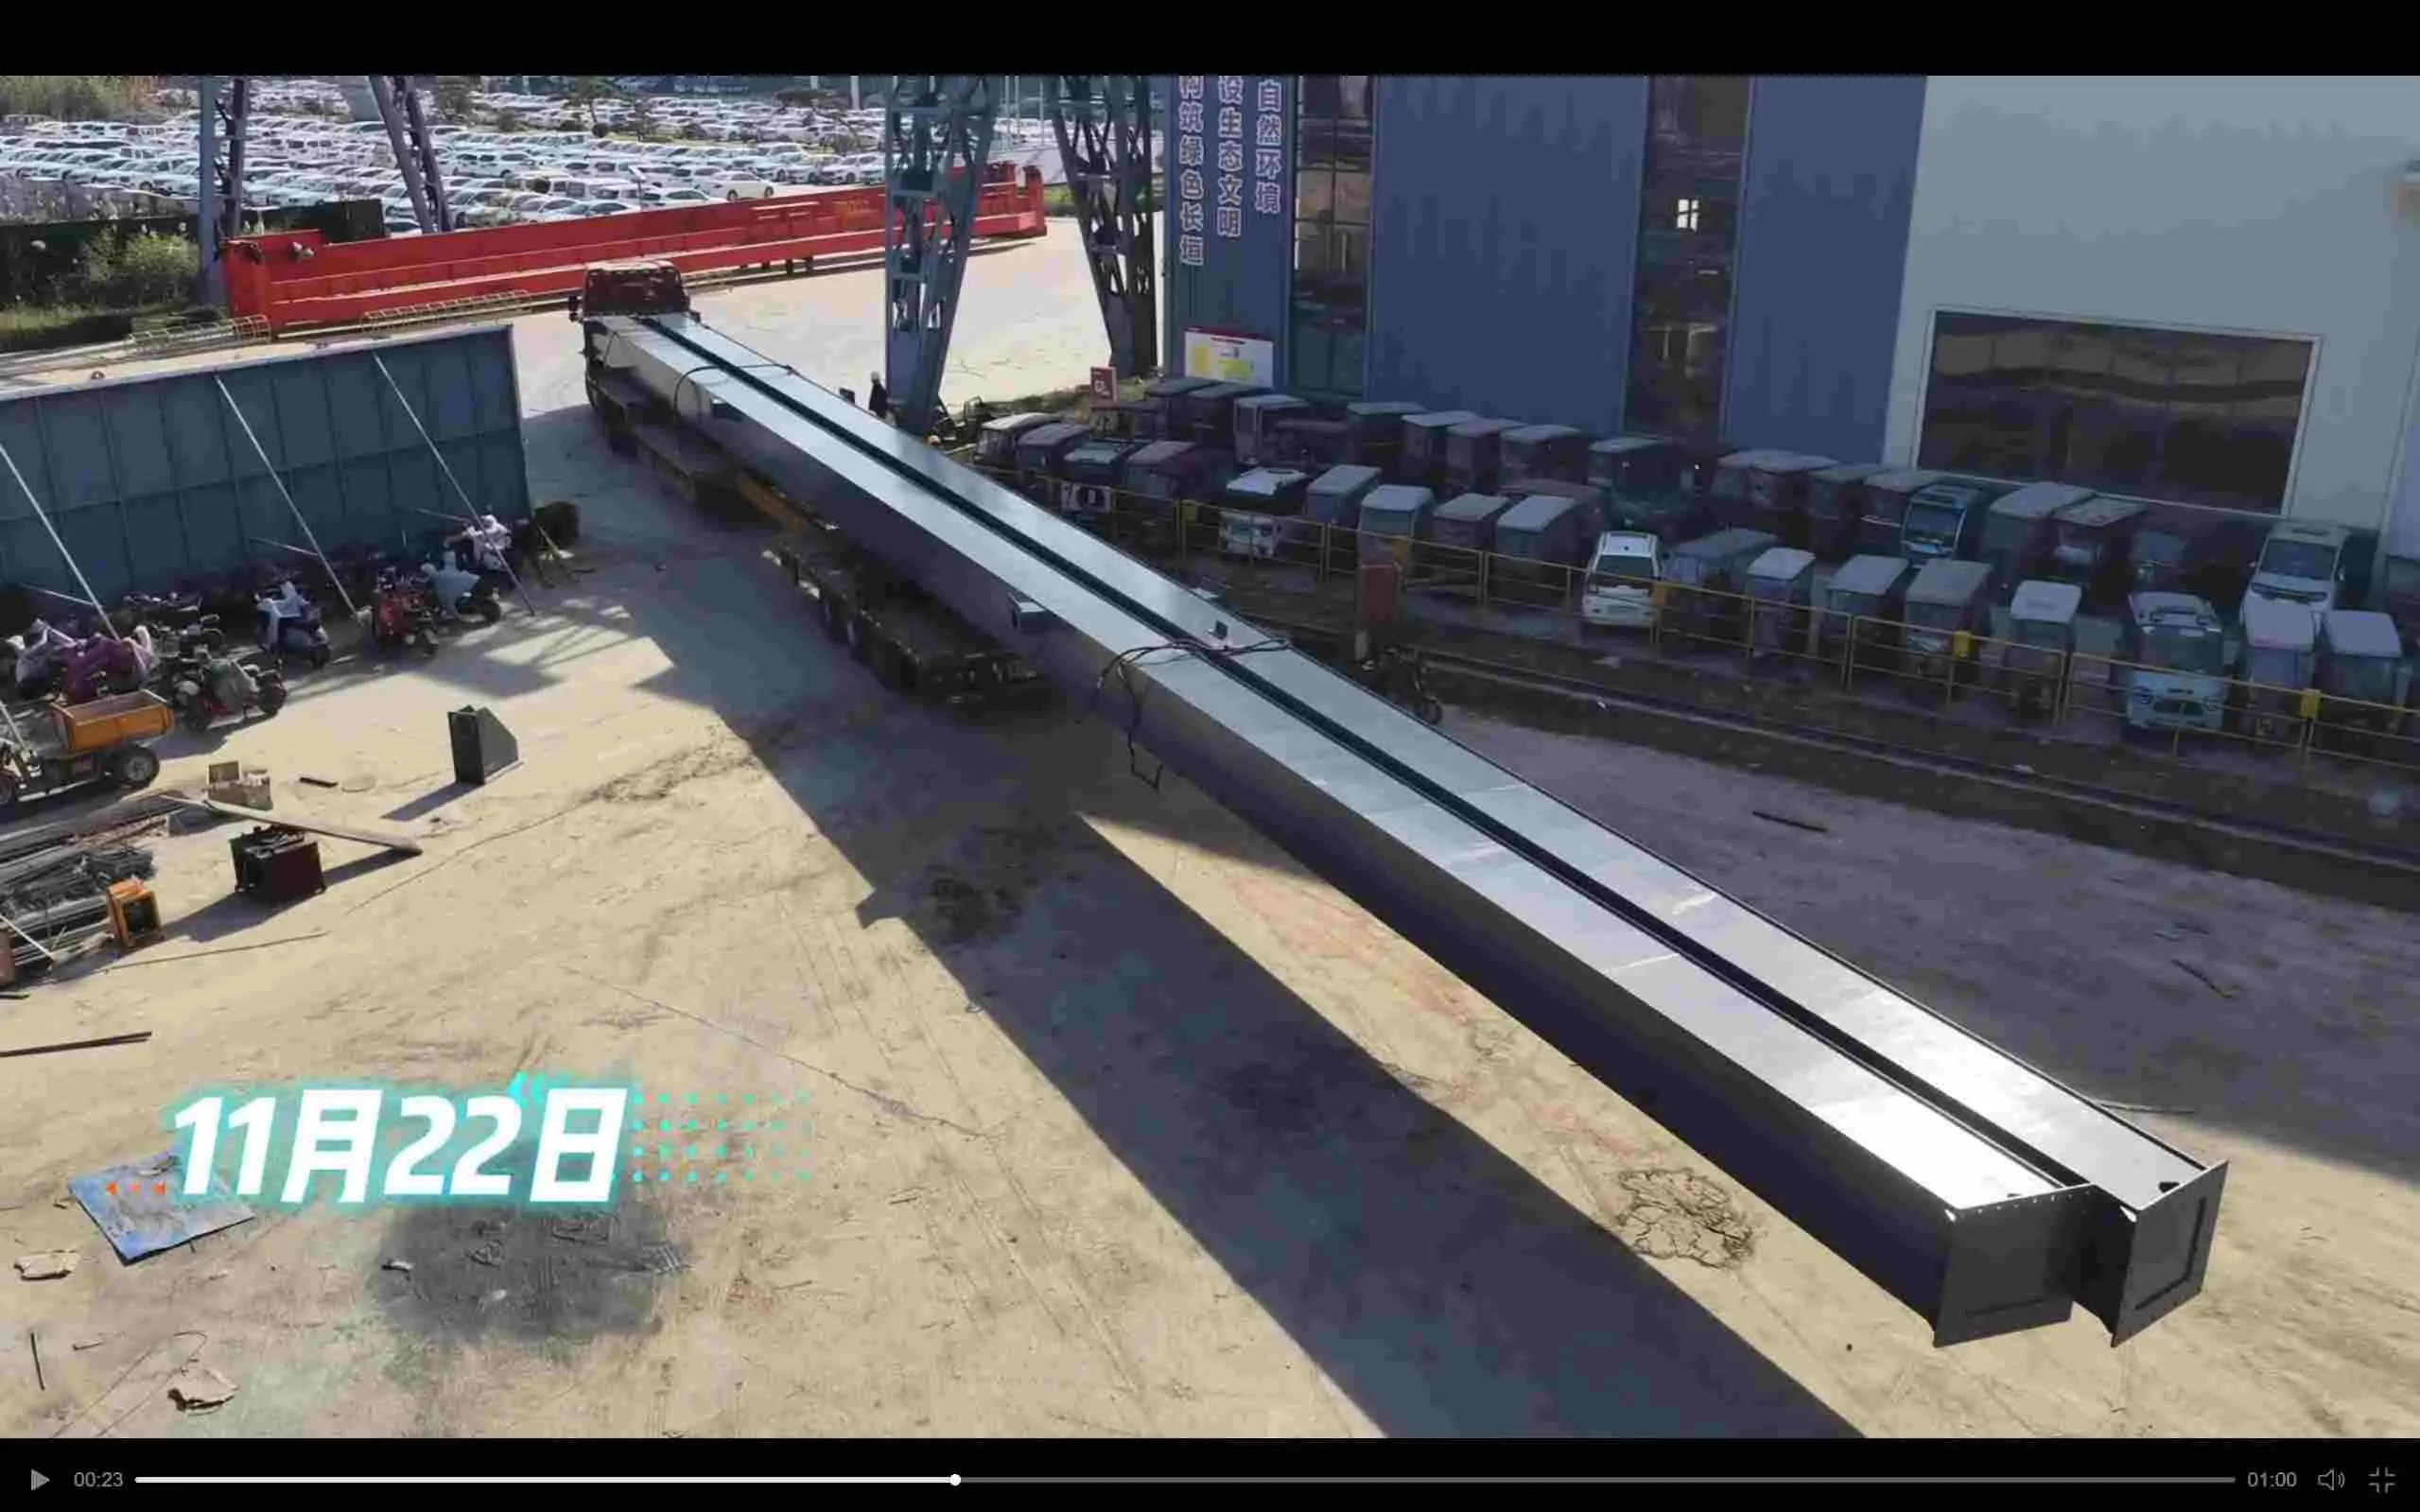
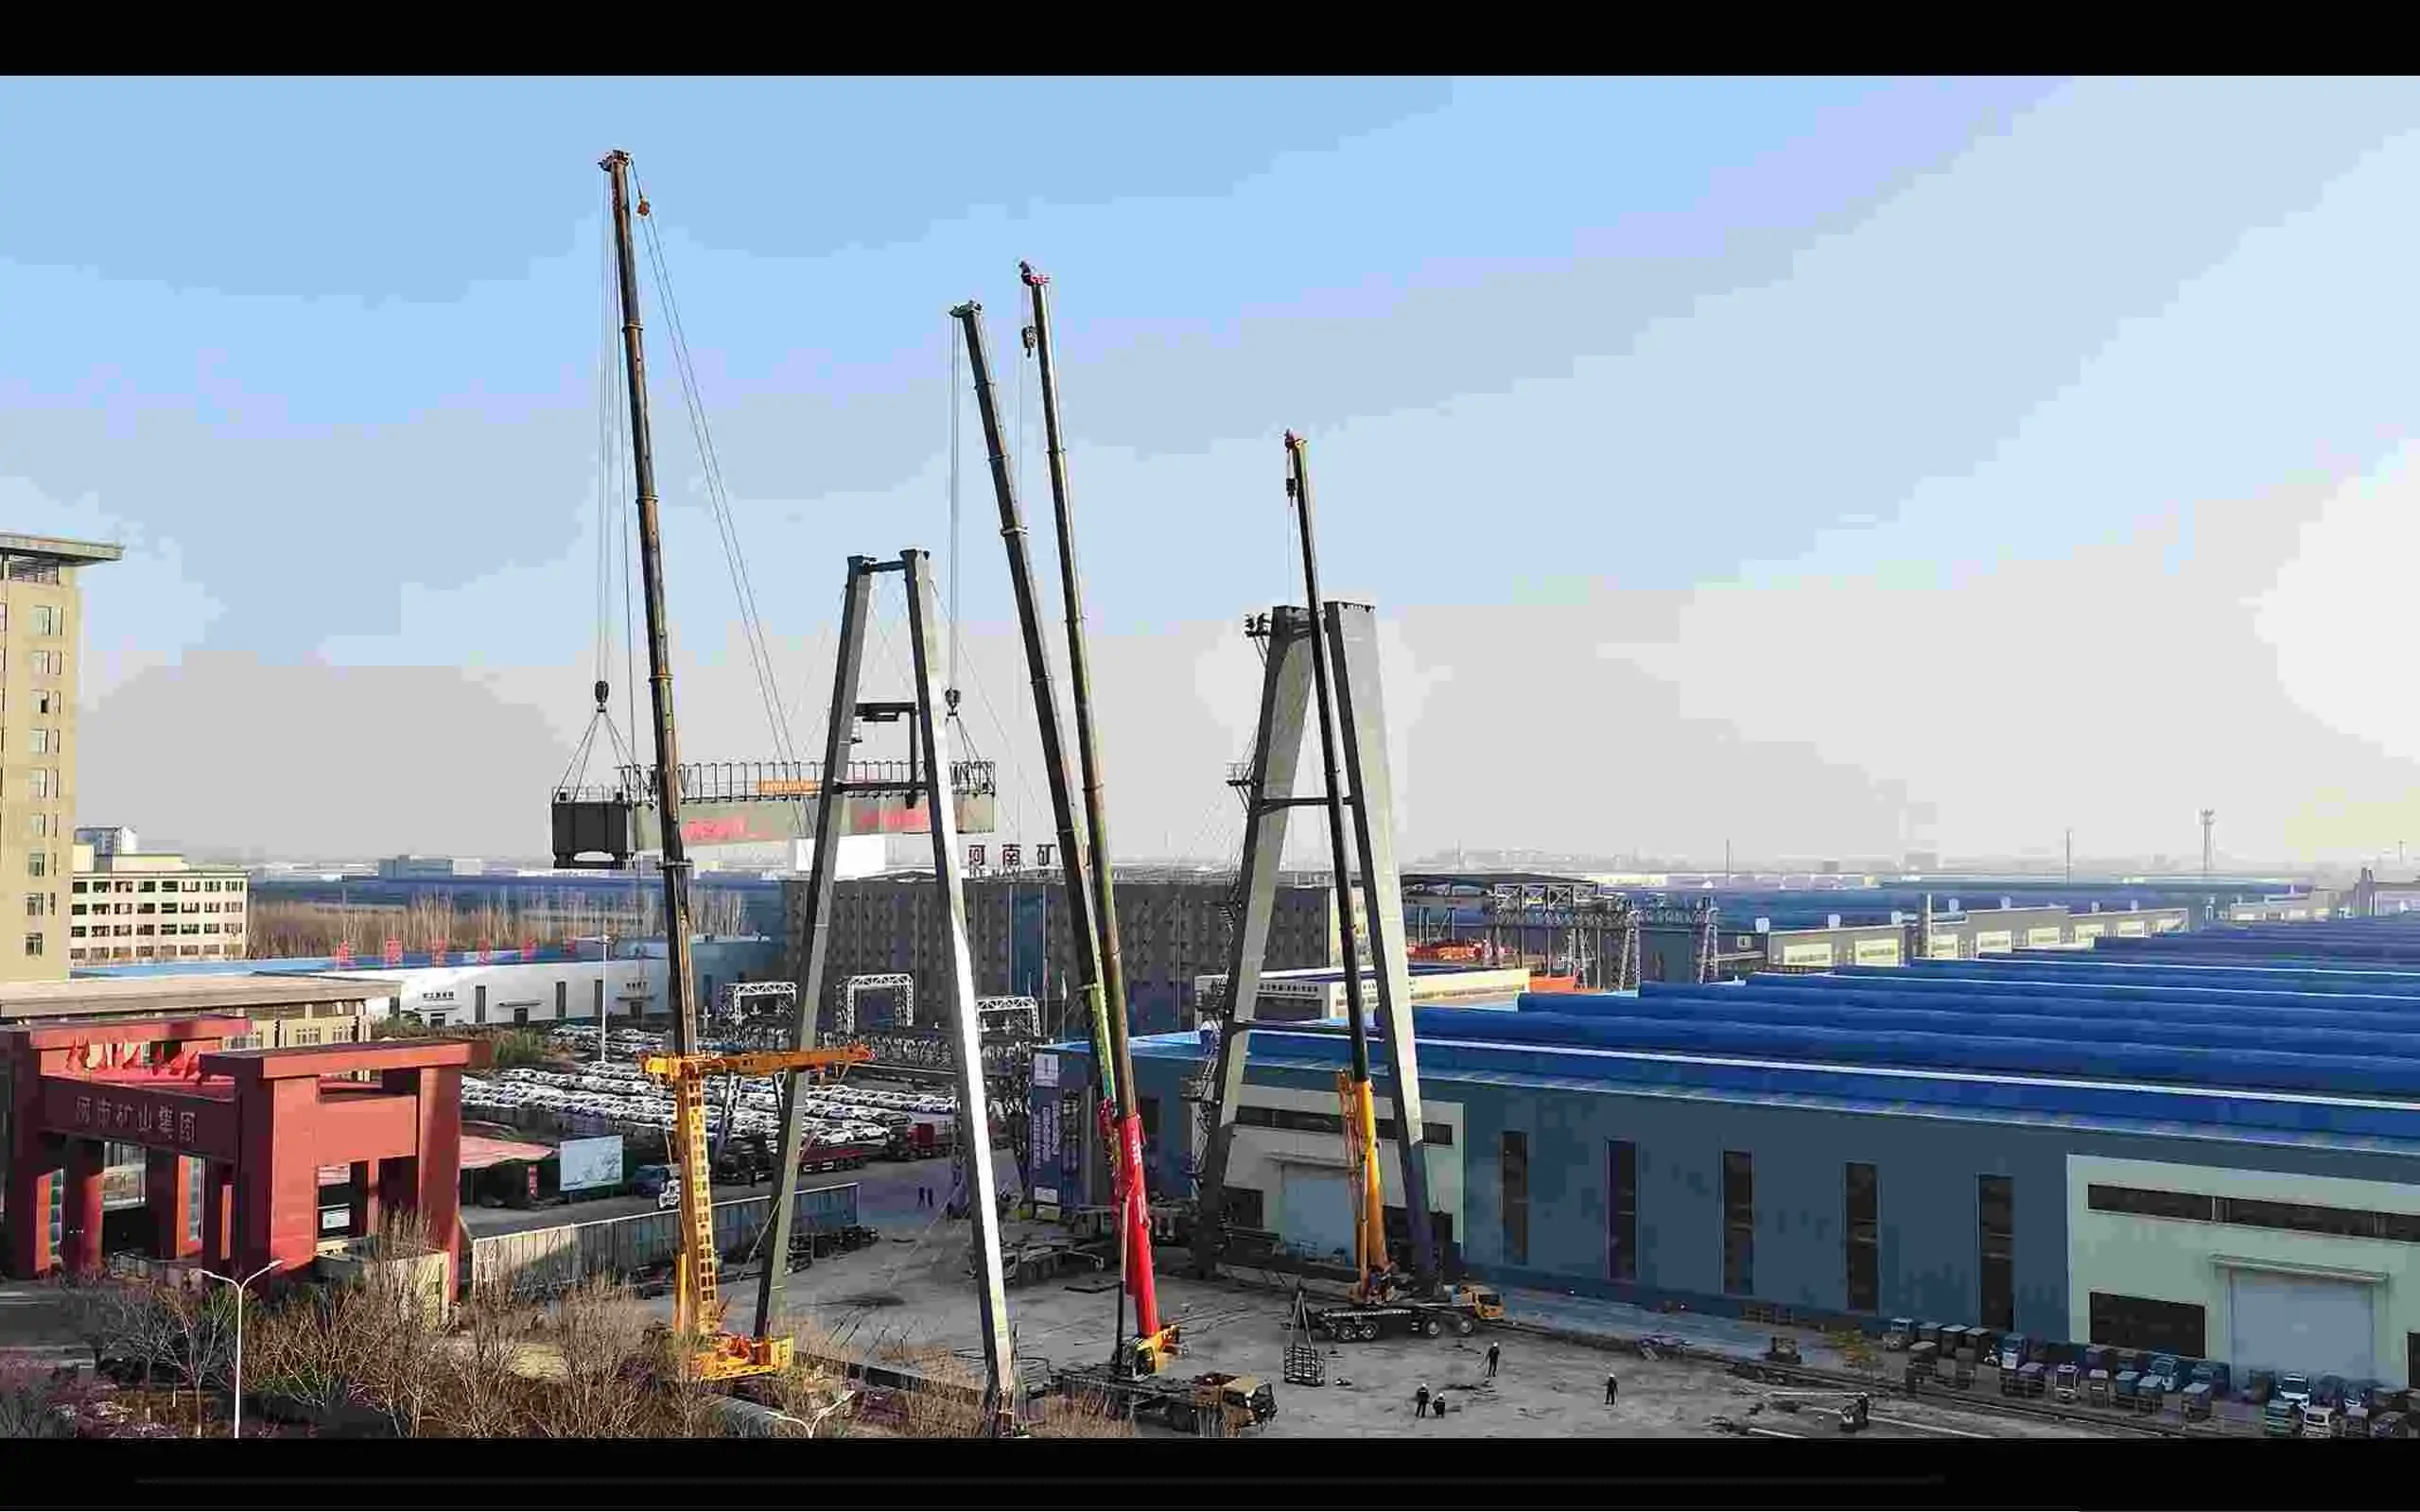
Step 2 – Assemble Support Legs
The assembly of the support legs should be carried out on the ground to avoid the risk of overhead work. Clean the upper and lower flange surfaces of the support legs, remove oil and rust, and make sure that the connecting surfaces of the support legs and the main beams are tightly fitted.
If the outriggers are segmented, the segments should be docked and fastened with high-strength bolts, the tightening torque of the bolts should be in accordance with the design requirements, generally M24 high-strength bolts should be tightened with torque not less than 450N-m, and should be double-checked with torque wrenches after tightening.
After the outriggers are assembled, they should be straightened and checked for vertical alignment, and the verticality of the outriggers should be measured with a latitude and longitude meter, with a deviation of no more than 1mm/m, to ensure that the two outriggers are parallel and vertical, without tilting. The legs can be fixed with temporary brackets to prevent tipping and prepare for subsequent lifting of the main girder.
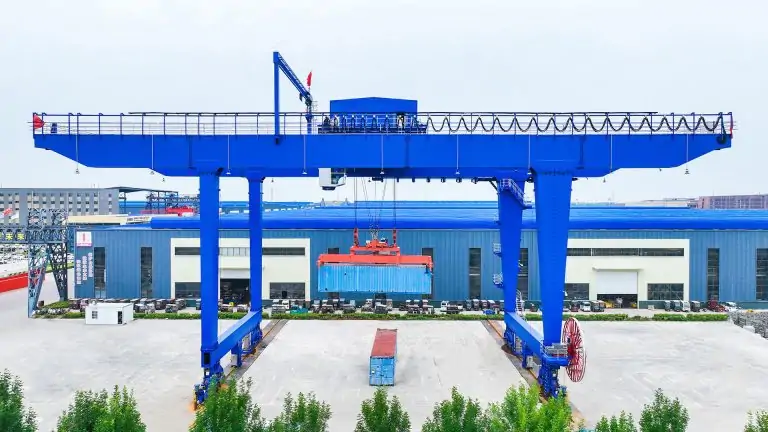
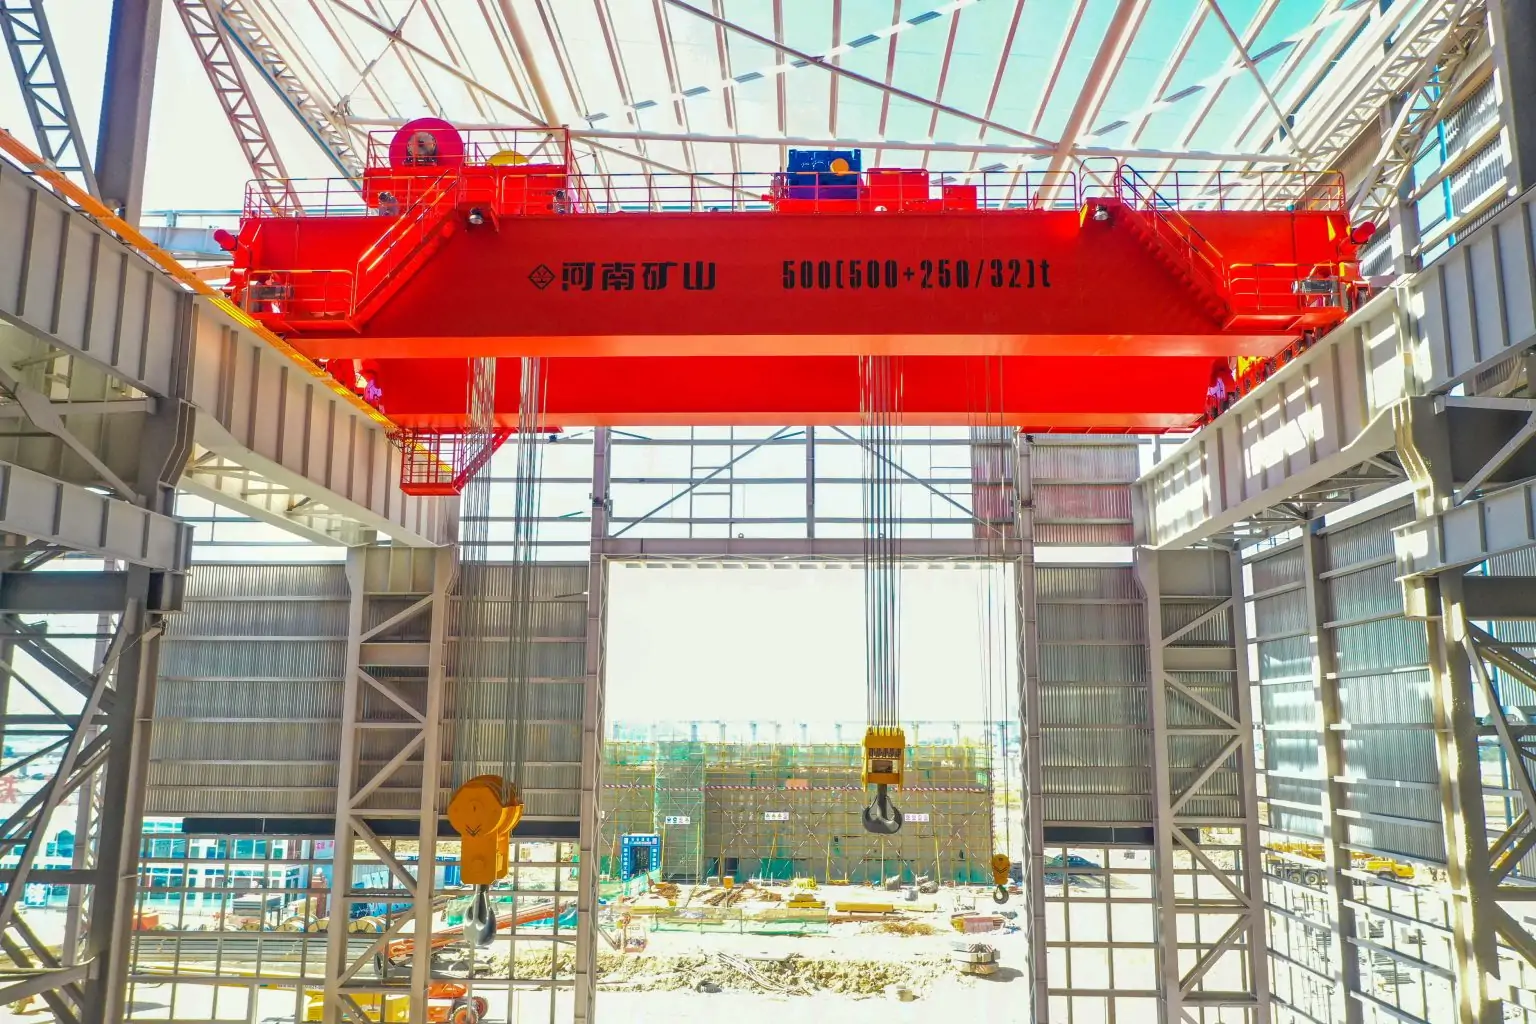
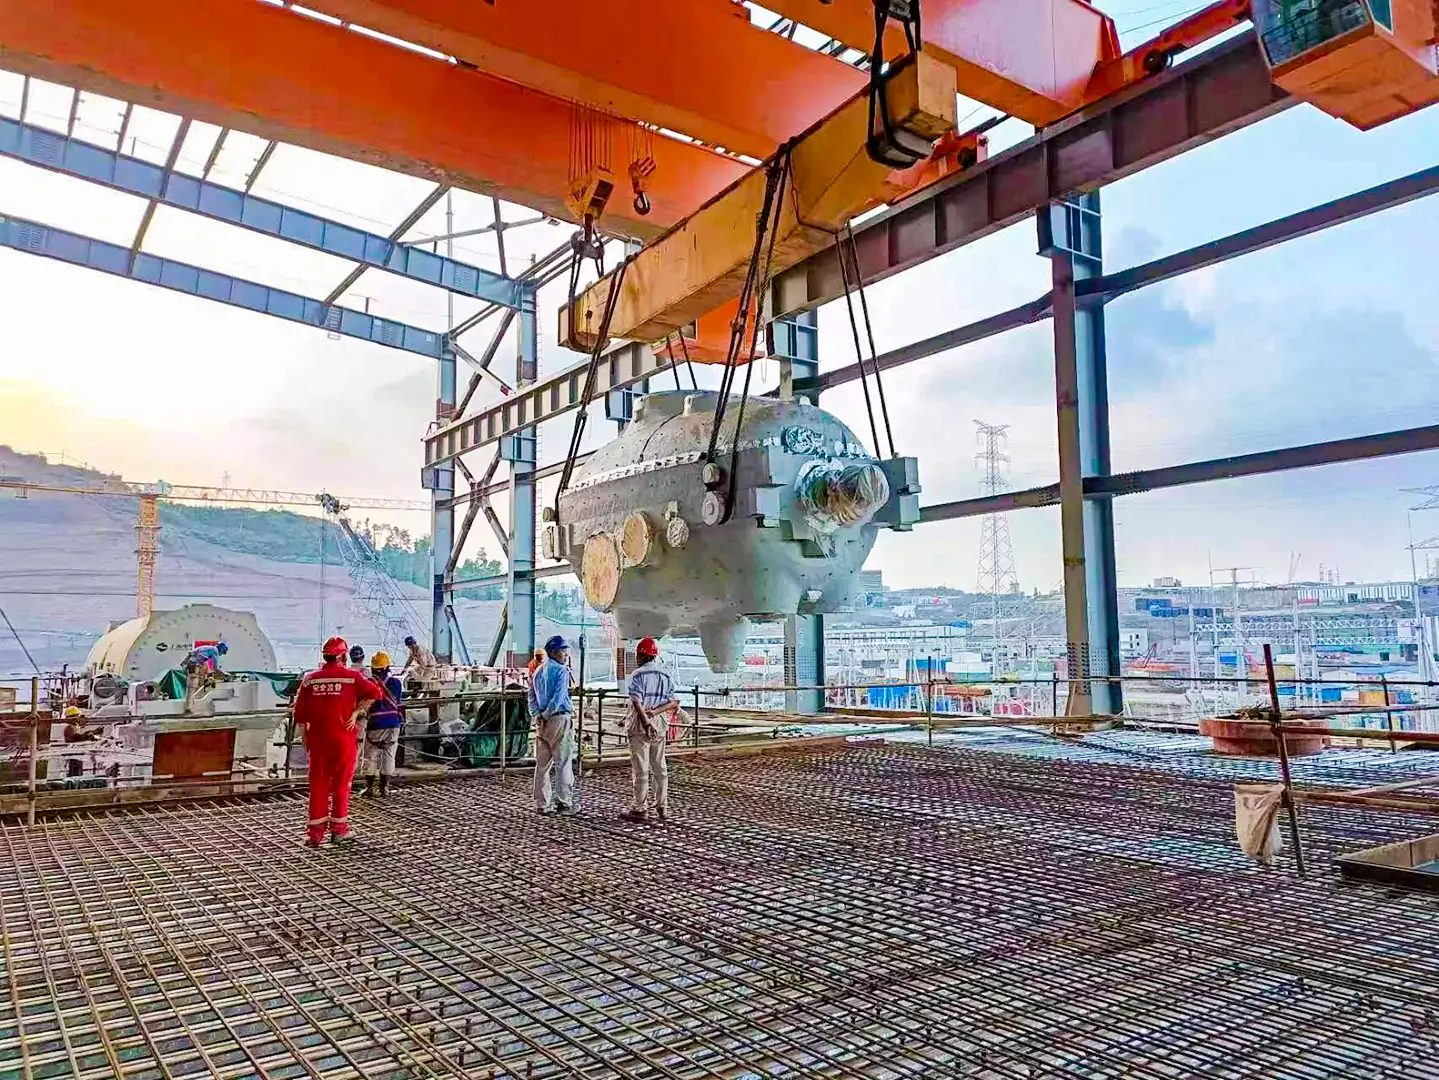
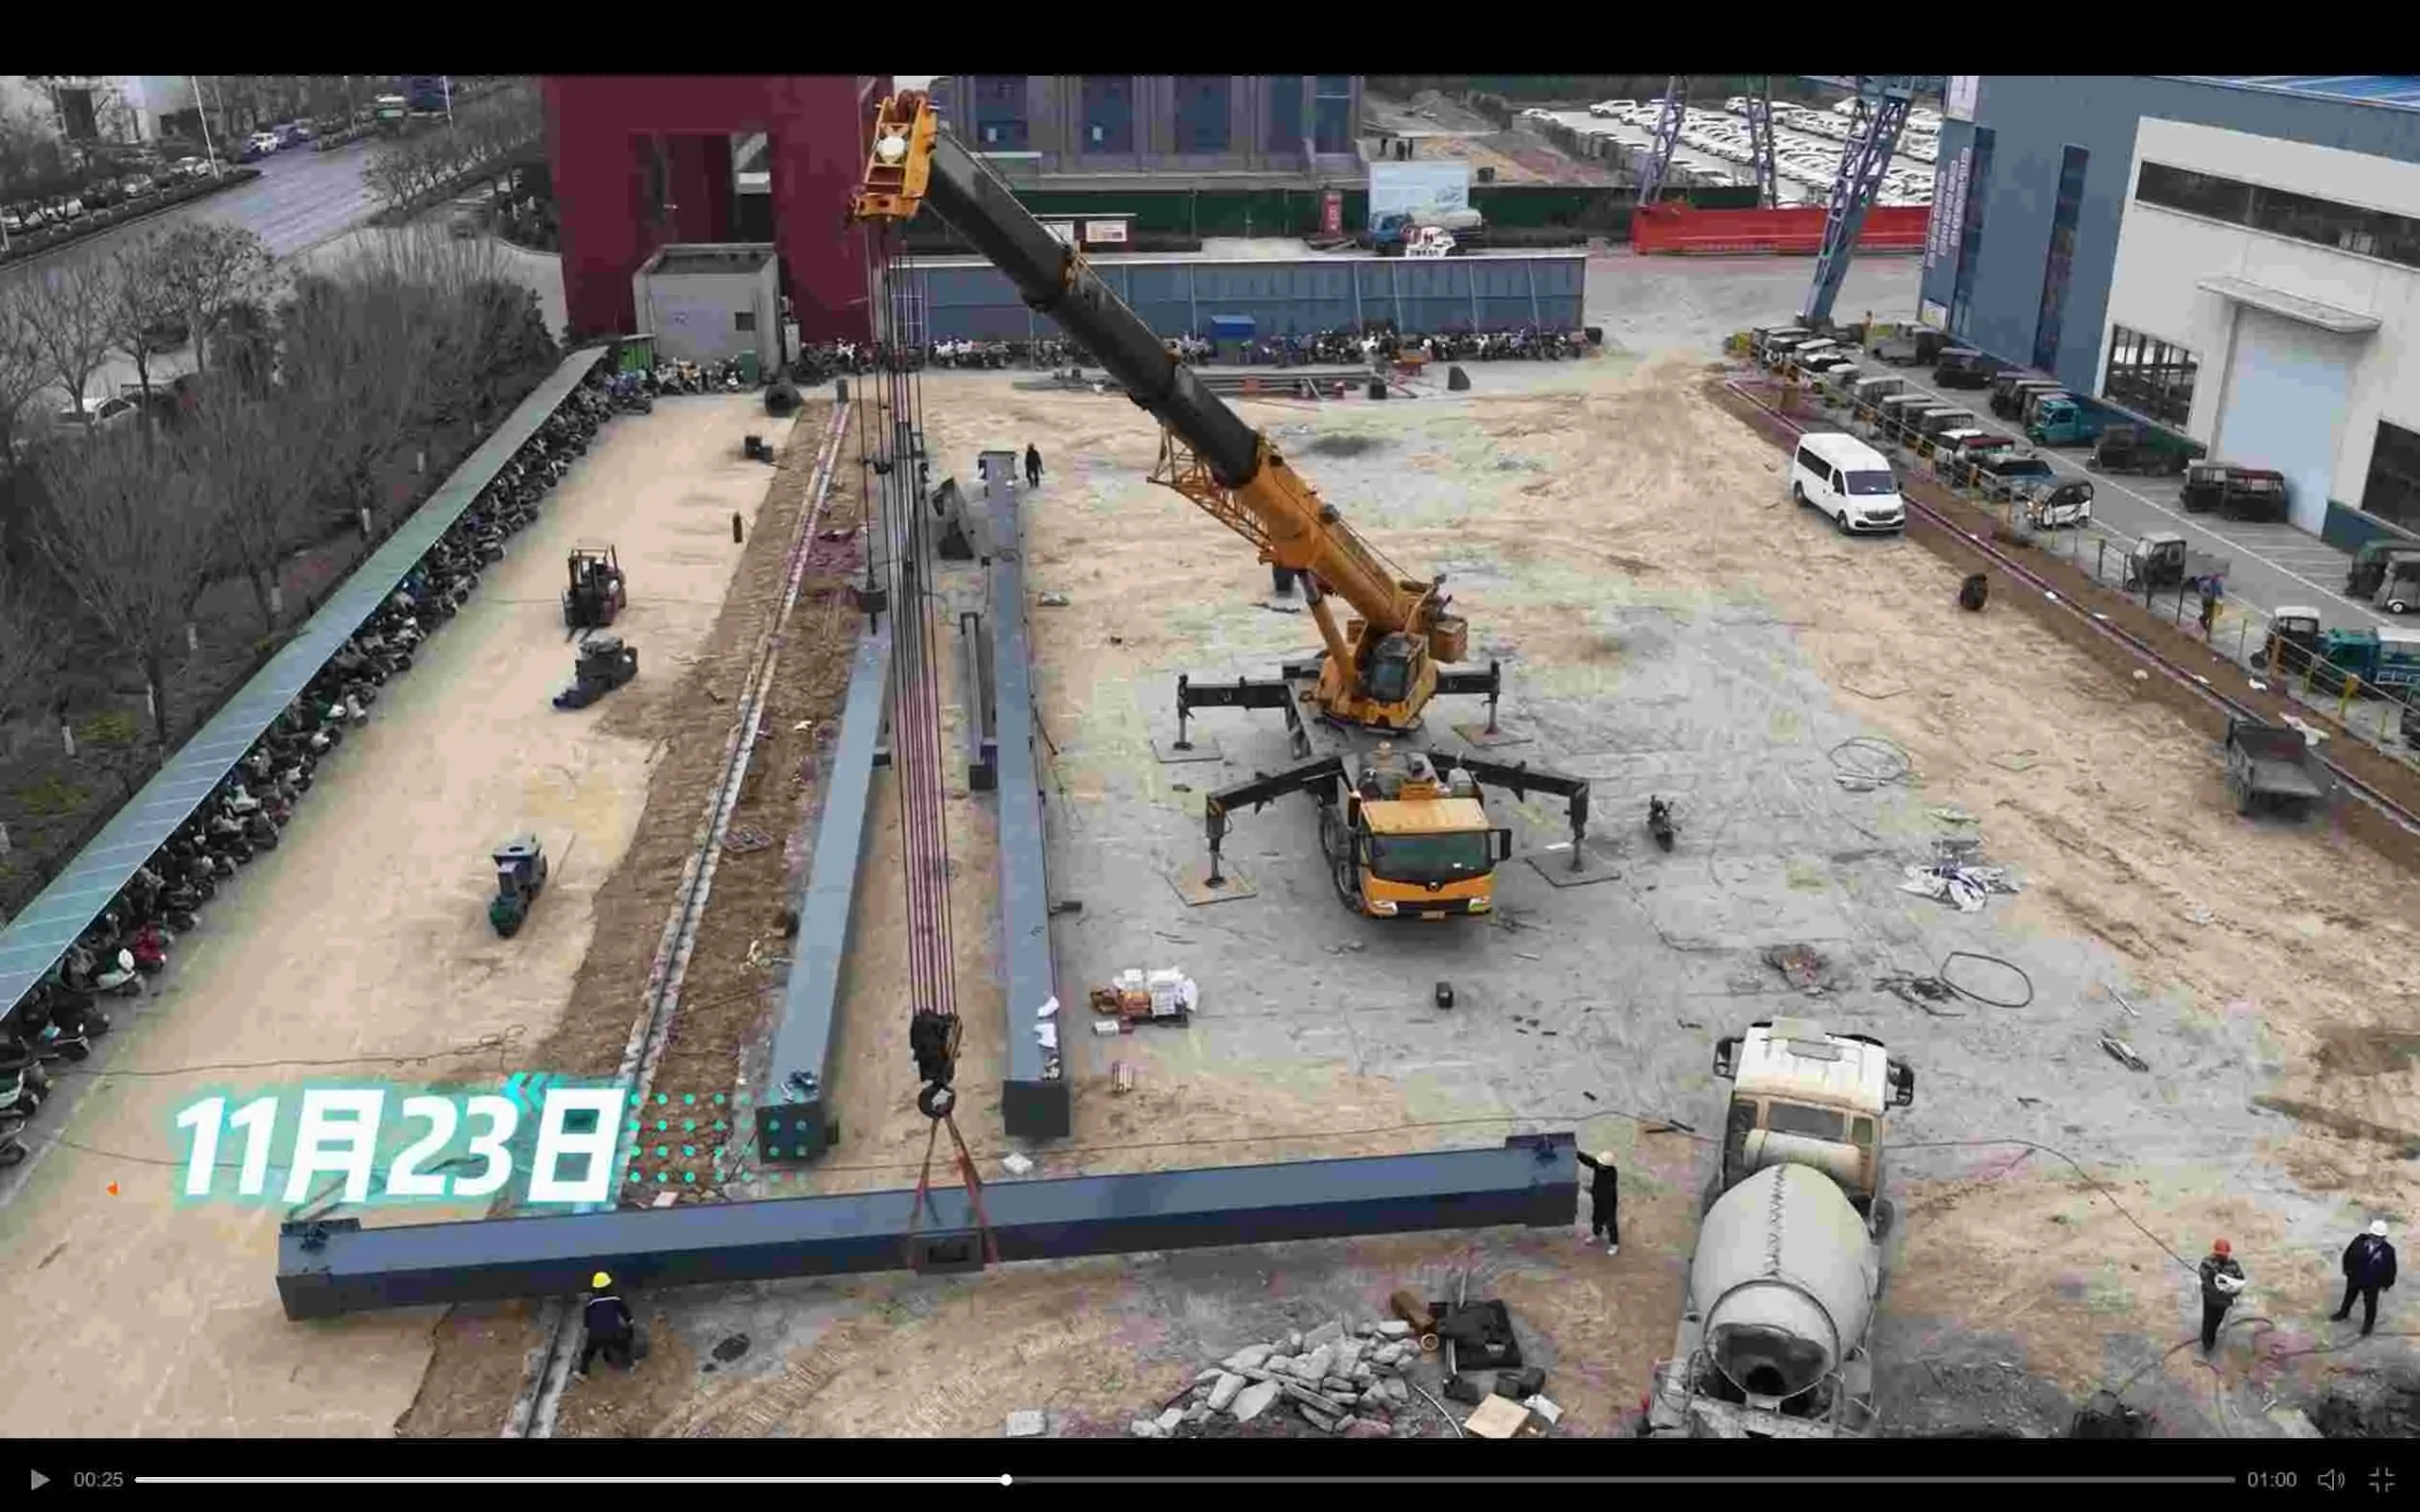
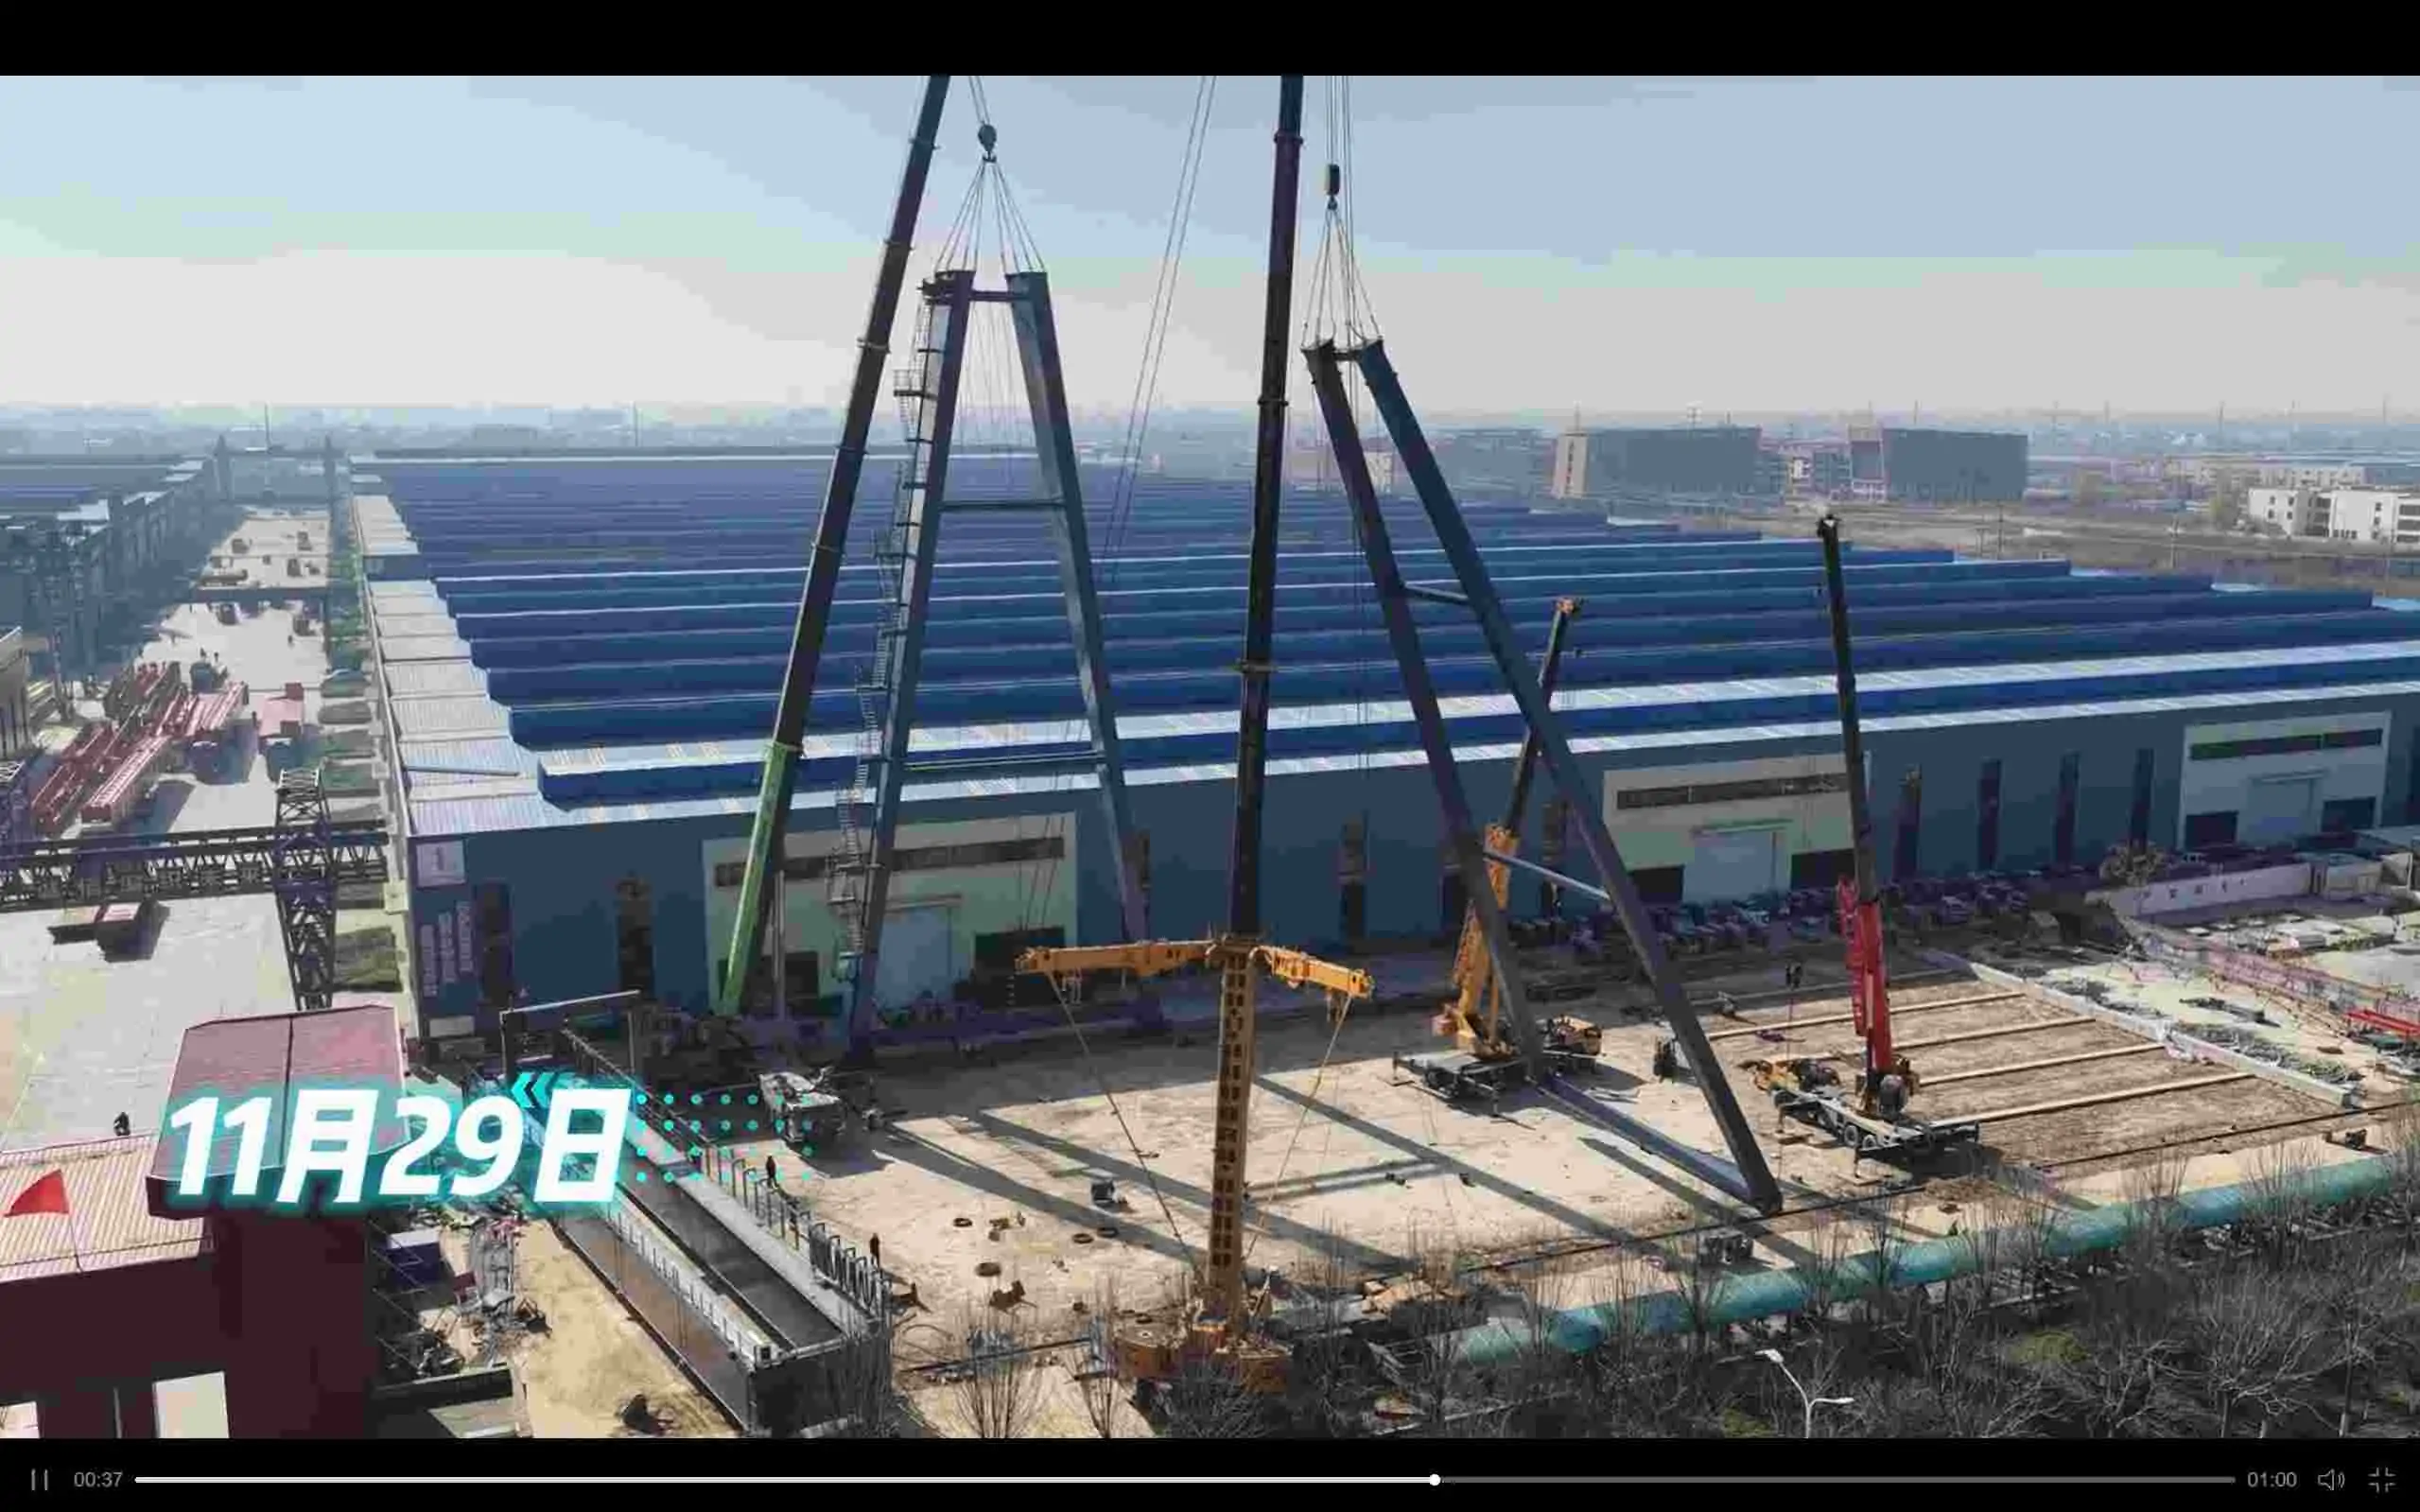
Step 3 – Lift and Position the Main Girder
Main girder lifting is the core of the whole installation process, which requires professional lifting equipment and experienced operators. Main girder lifting of large double girder gantry cranes usually requires two cranes to work together (double lifting).
Before lifting, a detailed lifting program should be formulated to clarify the location of the lifting point, lifting sequence, rope specifications and so on. The lifting point should be selected at the design lifting point of the main beam, and the angle between the rope and the main beam should not be less than 60 degrees, so as to avoid excessive force on the rope or deformation of the main beam.
Lifting should be lifted slowly, when the main beam leaves the ground about 50cm, pause the lifting, check whether the main beam is horizontal, whether the rope force is uniform, after confirming that there is no error, then continue to lift.
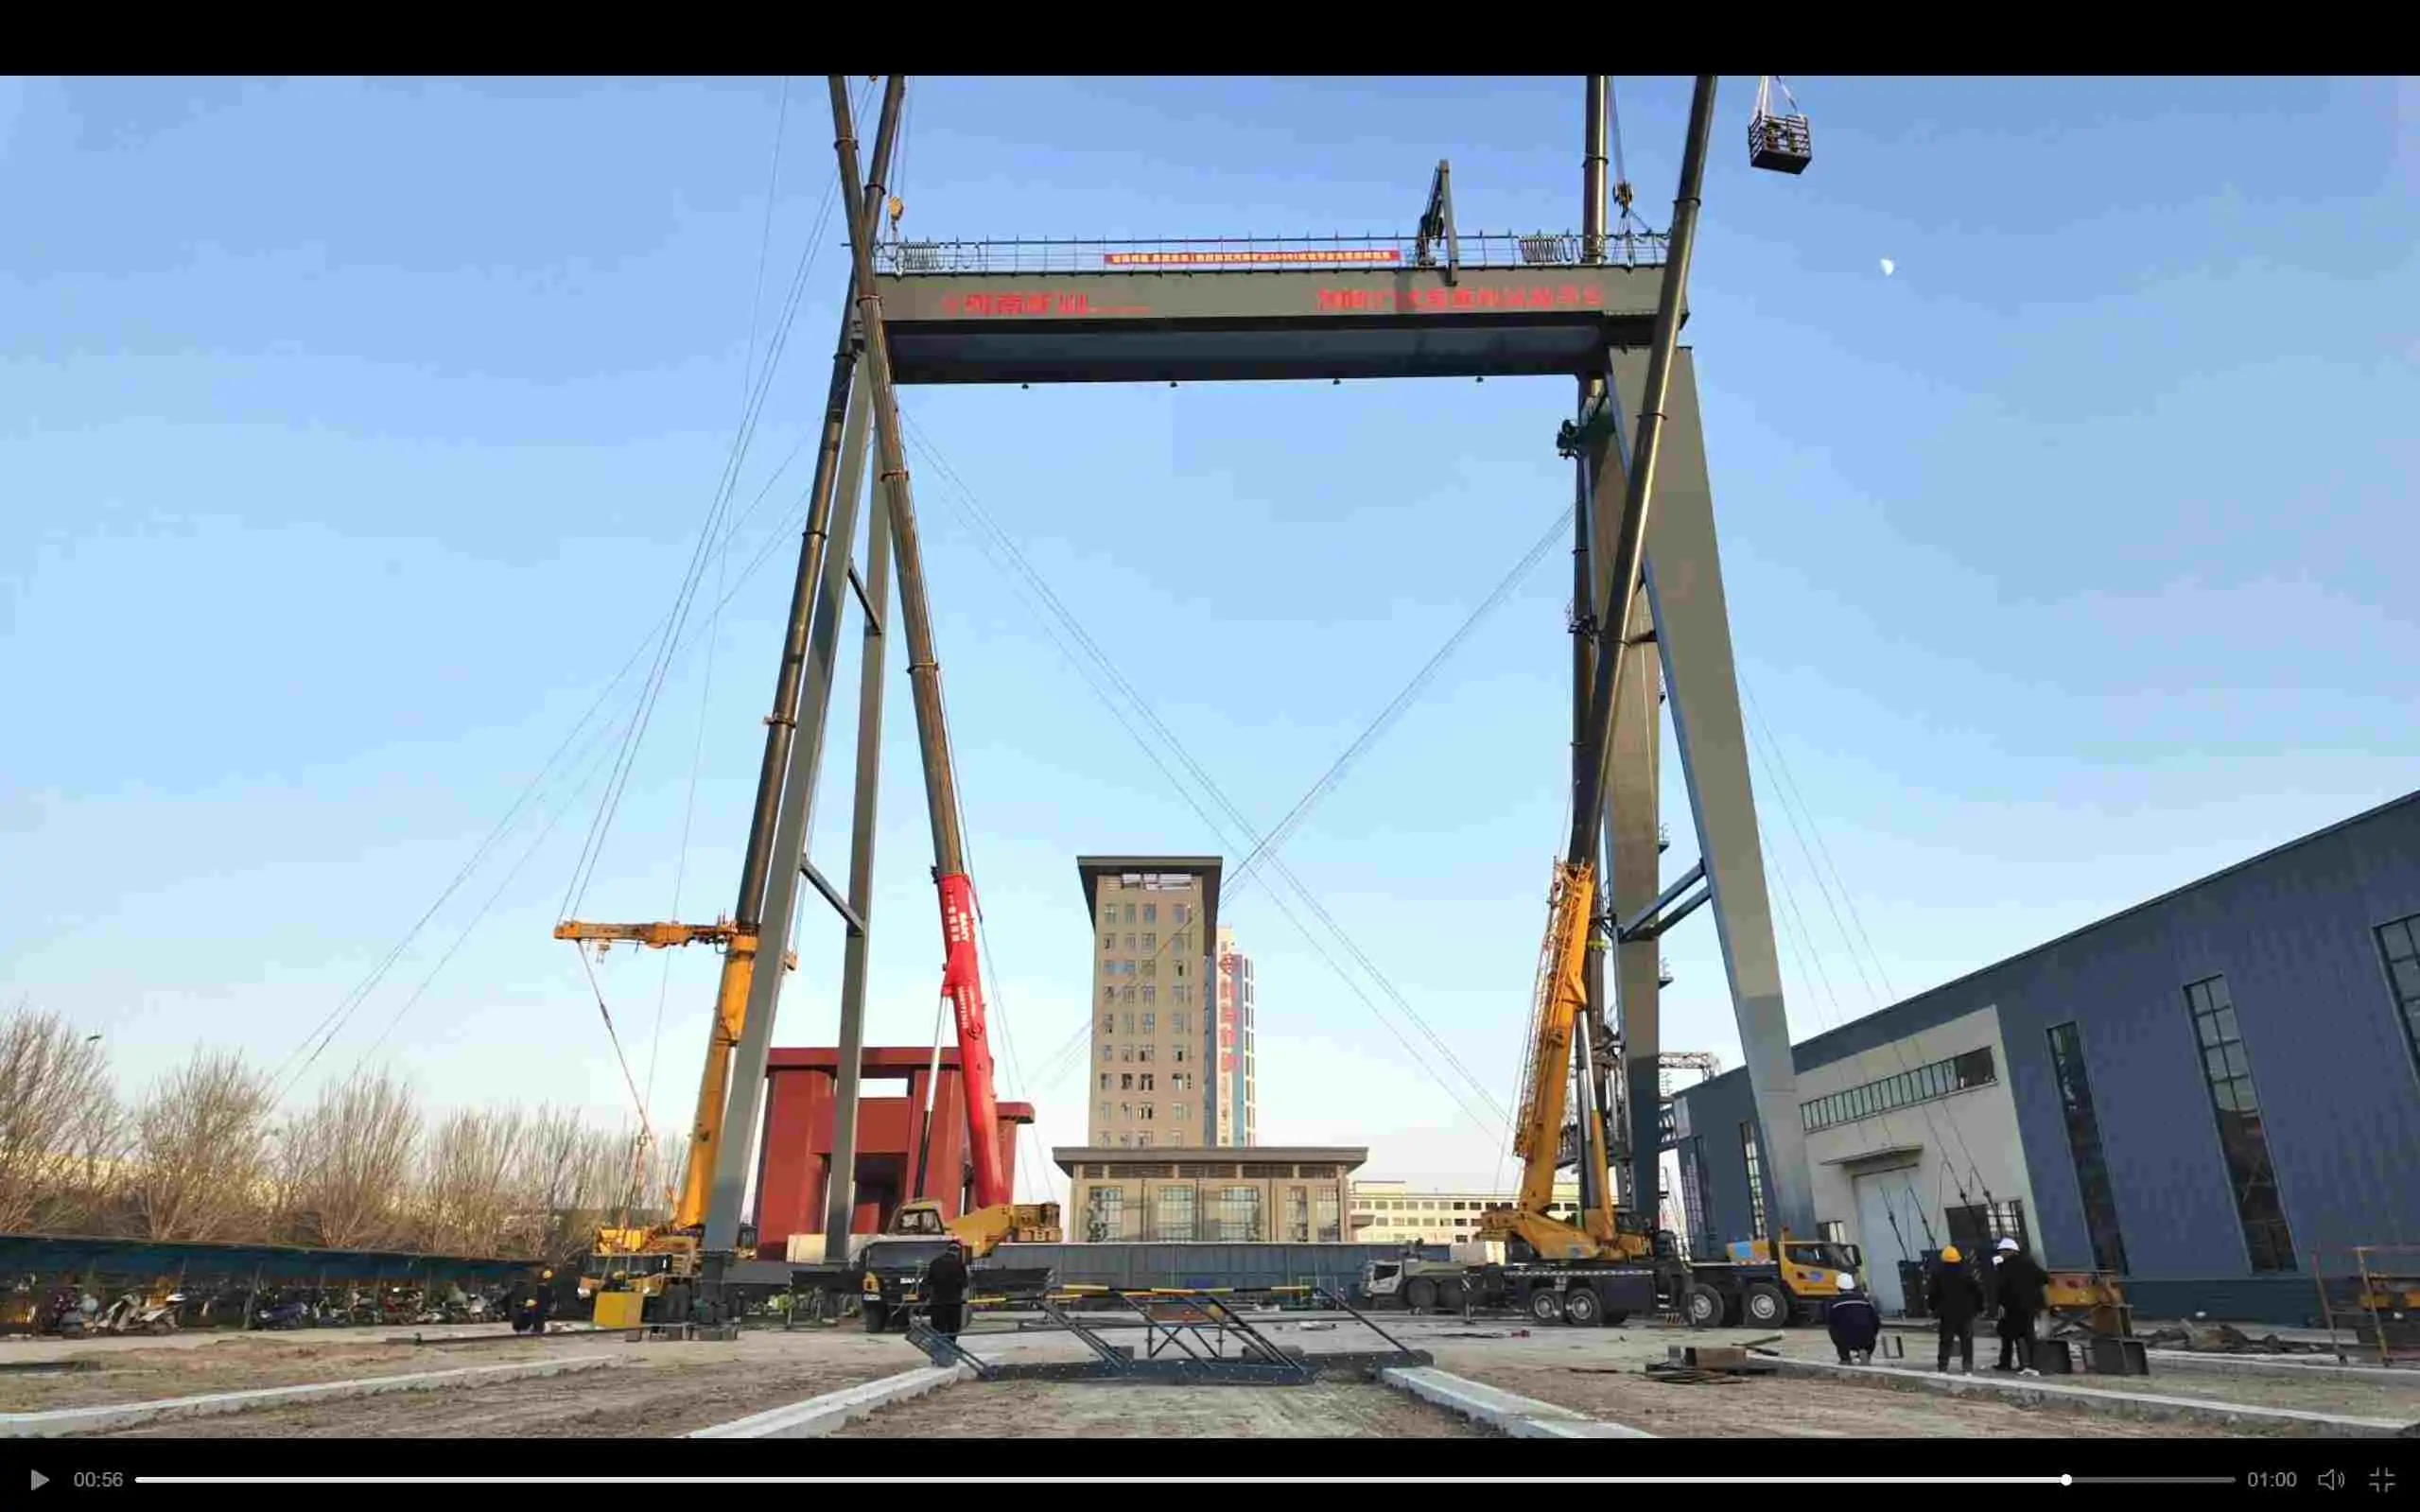
Lift the main beam to the top of the outrigger, slowly lower it, align the connecting flange of the outrigger, adjust the position of the main beam, make sure the bolt holes are perfectly aligned, then put in the high-strength bolts and tighten them symmetrically. After the bolts are tightened, check the level of the main beam and measure it with a level meter, the error should not be more than 0.5mm/meter.
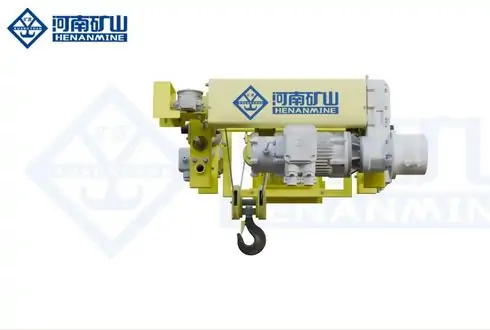
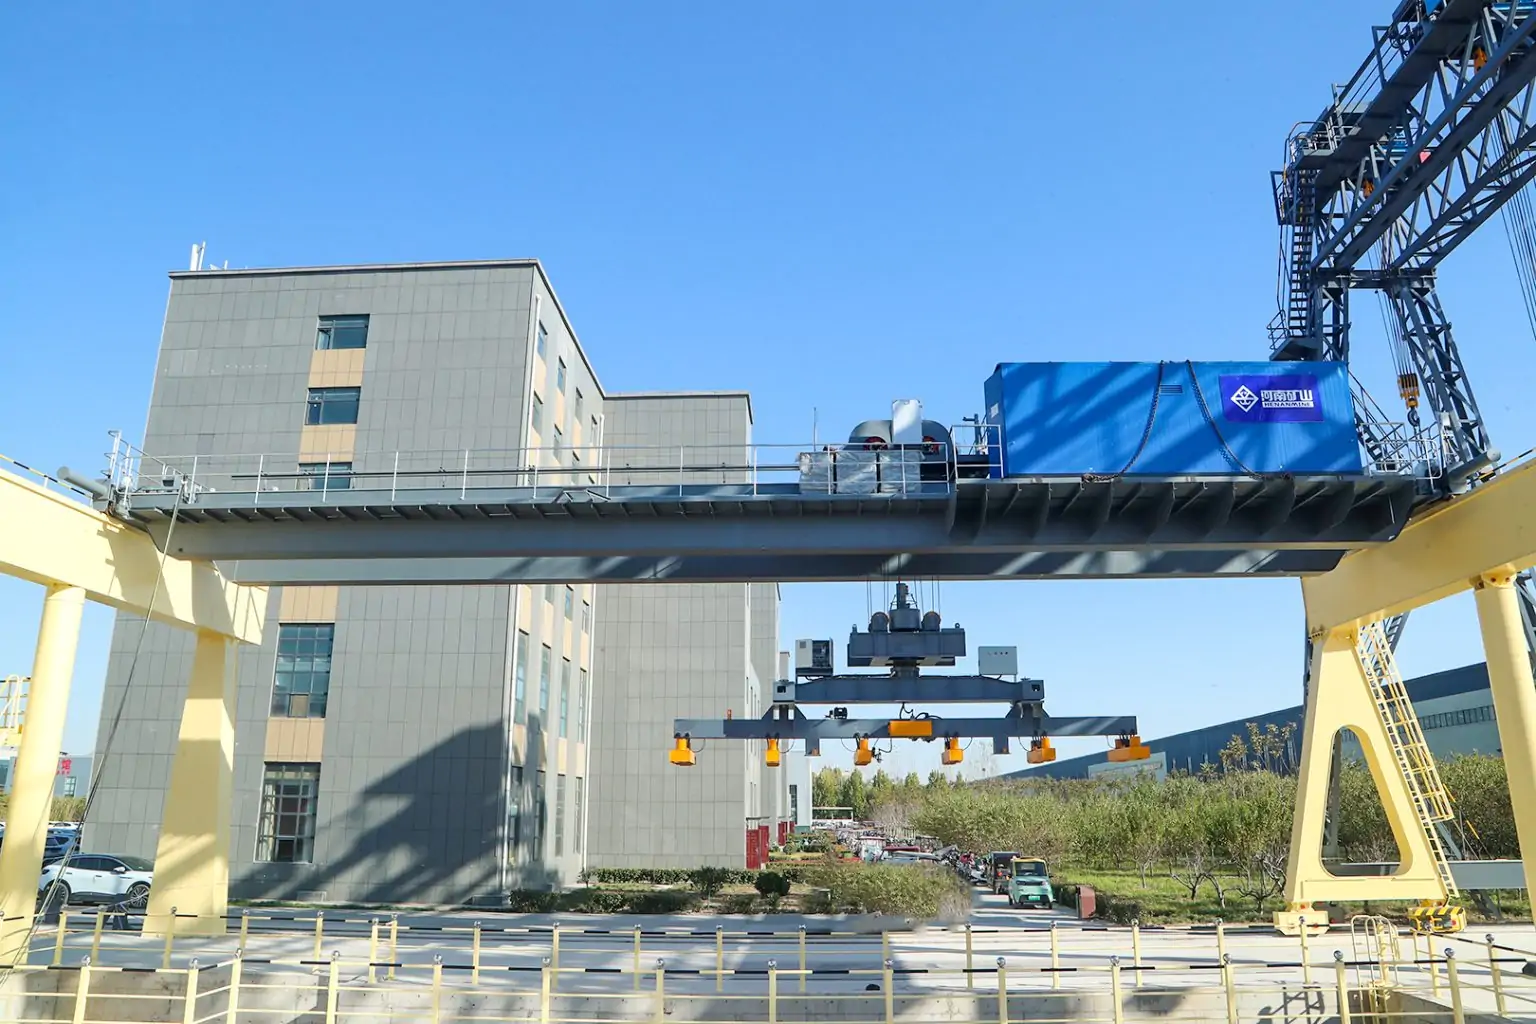
Step 4 – Install Hoist and Trolley System
After the installation of the main beam is completed, it is time to install the trolley and lifting mechanism. Slowly lift the trolley onto the rail of the main beam, make sure that the wheels of the trolley fit well with the rail, rotate smoothly, and there is no stagnation.
When installing the lifting mechanism, the winch or electric hoist should be fixed on the trolley first, and the fastening bolts should be tightened to prevent loosening during operation. Then install the wire rope, the winding of the wire rope should be in accordance with the design requirements, there can be no cross, twisted situation, the number of pressure plate at the fixed end of the wire rope is not less than 3, to ensure that it is firmly fixed.
Install the hook set, check the rotation flexibility of the hook, and make sure that the anti-dislodgement device of the hook is intact. Finally, check the braking system of the hoisting mechanism, manually operate the brake handle, the brake should be sensitive and reliable, and can effectively stop the hook from sliding down.
Step 5 – Electrical System Installation
Electrical system installation should follow the principle of “standardized wiring, safety and reliability”, and it is recommended to be operated by professional electricians. Firstly, fix the electrical control cabinet in the electrical box of the leg, connect the power cable, the wiring of the cable should be carried out according to the drawing, and the phase line, zero line and ground line should not be connected incorrectly.
Install the cable reel or slip contact line to ensure that the cable can run smoothly with the crane expansion and contraction, no dragging, extrusion. Connect the control lines, including the control lines for hoisting, trolley operation and whole machine operation, as well as the lines for limit switches and emergency stop buttons.
The installation position of the limit switch should be precise, the lifting limit should ensure that the power can be cut off in time when the hook rises to the highest position, and the running limit should ensure that the crane can be stopped automatically when it runs to both ends of the track. The emergency stop button should be installed in a position easily accessible to the operator and clearly labeled.
Mechanical Alignment and Precision Adjustment
After the installation is completed, the crane cannot be put into use directly, it must be mechanically aligned and precision adjusted, which is a key step to ensure smooth operation and prolong the service life of the equipment.
Wheel Alignment and Track Contact
Check the wheel alignment of the crane to ensure that the wheels are perpendicular to the track, and that the tread surface of the wheels is in good contact with the top surface of the track, and the contact area is not less than 70%. If the wheels are skewed, it will lead to rapid wear and tear of the wheels during operation, or even the phenomenon of “chewing the rail”, which will seriously damage the rail.
Adjust the level and verticality of the wheels, the horizontal error of not more than 0.5 mm / m, vertical error of not more than 1 mm / m. For rail-type models, also check the side clearance between the wheel and the rail, and generally keep it at 3-5 mm to avoid friction during operation.
Girder Deflection Measurement
The deflection (bending deformation) of the main girder should be in accordance with the design standard. Under no-load condition, the maximum deflection of the main girder should not be more than 1/1000 of the span, and the deflection of the double girder gantry crane is more stringent, generally not more than 1/1200 of the span.
You can use a laser range finder or level meter to measure at the midpoint and both ends of the main girder, and record the deflection value to ensure that it is within the permissible range. If the deflection exceeds the limit, it may be due to the installation deviation of the main beam or structural problems, which need to be adjusted in time or contact the manufacturer to deal with.
Brake and Limit Switch Calibration
Calibrate the brakes, the brake of the hoisting mechanism should be able to withstand 1.25 times of the rated load, and the brake of the running mechanism should be able to ensure that the crane stops smoothly at the rated speed without skidding.
Re-check the sensitivity of the limit switches, manually trigger the hoisting limit and running limit to make sure that the corresponding power can be cut off in time and the equipment stops running. Adjust the position of the limit switches to ensure that there is enough safety margin to avoid limit switch failure.
Commissioning and Load Testing
After the precision adjustment is completed, it enters the commissioning and load testing stage, which is the final test of the installation quality, and must be carried out in strict accordance with the standards, and can not be omitted in any step.
No-Load Testing
No-Load Testing first, turn on the power, operate the crane for lifting, trolley operation, machine operation and other actions, each action should be repeated 5-10 times, to observe whether the equipment runs smoothly.
Check whether the lifting speed of the lifting mechanism is uniform, no jamming, noise; trolley and machine operation is smooth, wheel rotation is flexible, no deflection phenomenon; whether the electrical control system is normal, the indicator lights, buttons function properly, limit switches are sensitive and reliable.
Also check the noise and vibration of the equipment, the noise during operation should not exceed 85 decibels, the vibration amplitude should be small, there is no obvious shaking.
Static Load Test
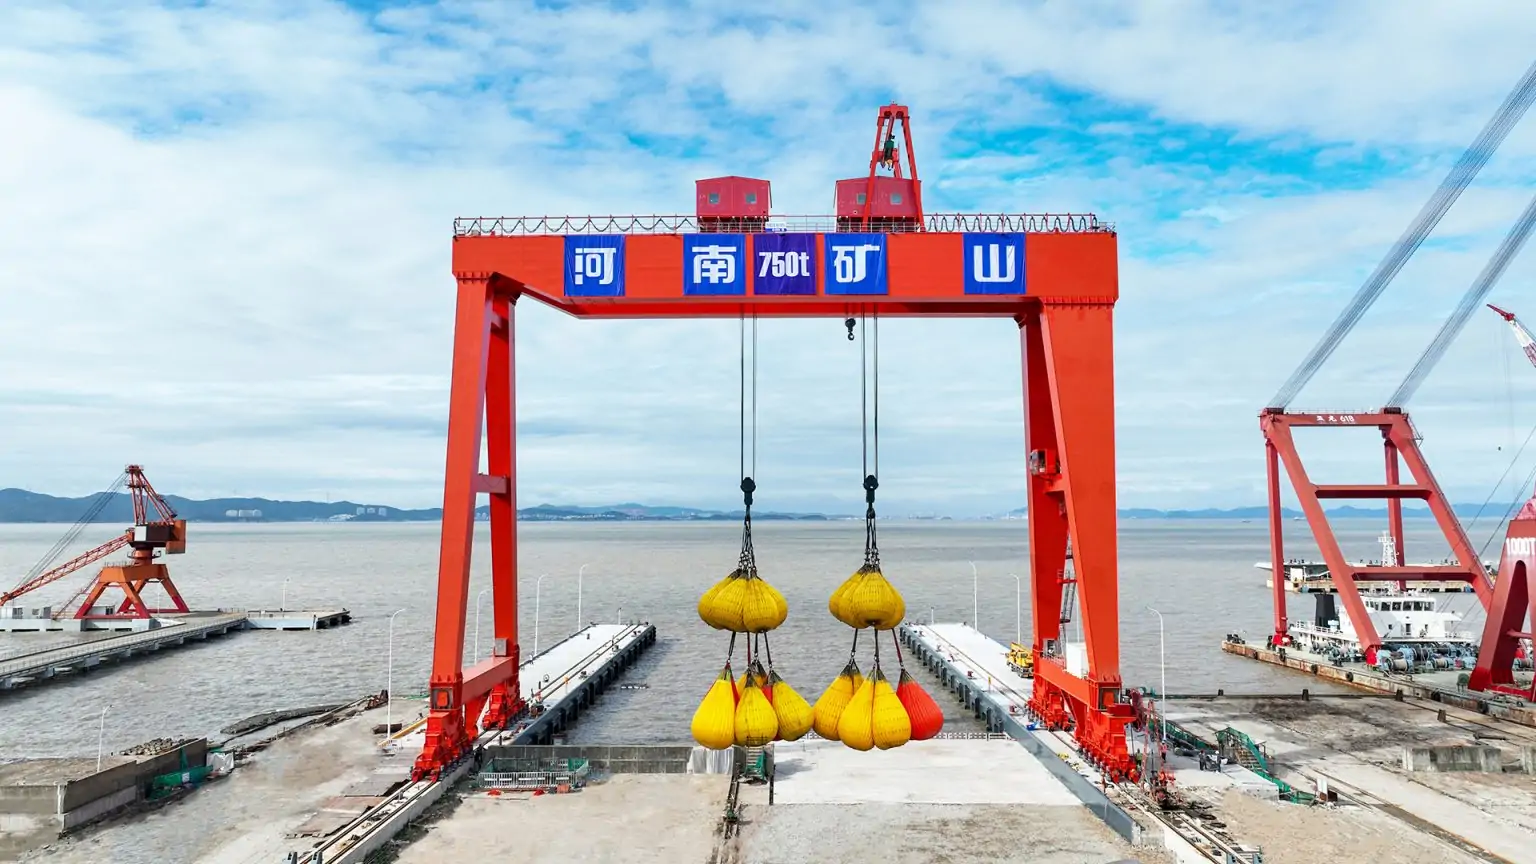
After passing the no-load test, carry out the static load test, the test load is 125% of the rated load. Lift the test weight smoothly off the ground about 100mm, hold it for 10 minutes and observe the structural deformation of the crane.
During this period, check whether the deflection of the main beam is within the permissible range, whether the connection between the outrigger and the foundation is firm, without loosening and shifting, and whether there is no sign of deformation and damage at the bolt joints. 10 minutes later, slowly lower the load and check whether the crane can be restored to its original state, without permanent deformation.
Dynamic Load Test
After passing the static load test, carry out the dynamic load test, the test load is 110% of the rated load. Operate the crane to carry out the combination of hoisting, descending, trolley operation and whole machine operation to simulate the actual operation scene.
Check the performance of the brake, the brake should be smooth when lifting and descending, without the phenomenon of slipping hooks; the brake should be sensitive when running, and can be stopped quickly; the crane’s running speed is even, without impact, jitter.
Also test the emergency stop function, press the emergency stop button in the dynamic operation process, the equipment should be able to immediately stop all actions to ensure safety.
Safety Considerations During Gantry Crane Setup
Safety during installation is more important than the speed of installation. Gantry Crane components are large and heavy, and there are many overhead and lifting operations, so safety measures must be taken.
When installing outdoors, pay attention to the wind speed changes, when the wind speed is more than grade 6, should stop working at height and lifting operations to prevent heavy objects from swaying or equipment tipping.
Workers at height must fasten safety belts and wear helmets, and stand firmly on their feet to avoid falling from height; ground workers should stay away from the lifting area and set up a warning line to prevent heavy objects from falling and injuring people.
Electrical work, to cut off the power supply first, do a good job of electrical isolation, hanging “prohibit the closing of the gate” signs, to avoid electrocution; the use of power tools, to ensure that the insulation is good, reliable grounding.
All hoisting equipment, such as cranes, wire ropes, hooks, etc., must be tested and qualified, and the use of unqualified hoisting equipment is strictly prohibited; in the process of hoisting, there should be a person in command, and the command signal should be clear and uniform.
Installation Timeline – How Long Does It Take?
The installation time of gantry crane depends on the type, size and site conditions of the equipment, there is no fixed standard, the following is the reference time of common models:
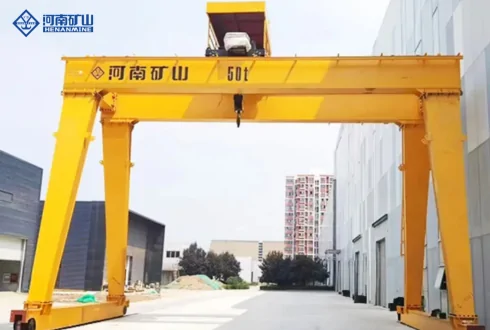
Small single girder gantry crane (lifting capacity 5-10 tons, span 10-15 meters): 3-7 days, mainly including track installation, outrigger and main beam assembly, electrical wiring and commissioning, the process is relatively simple.
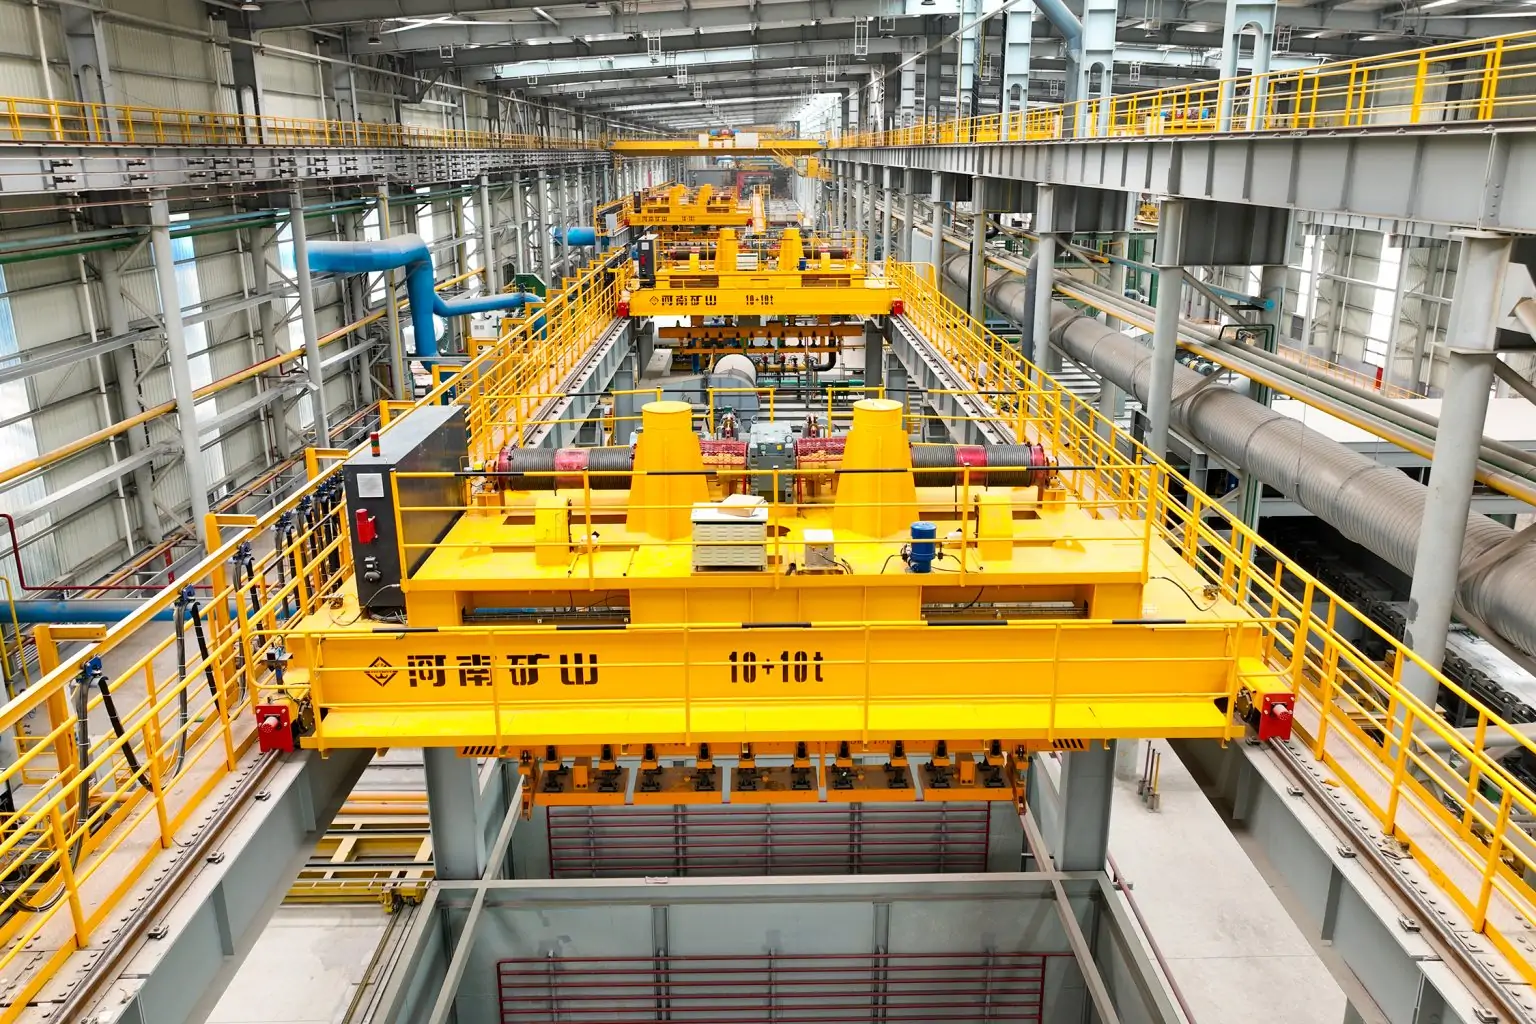
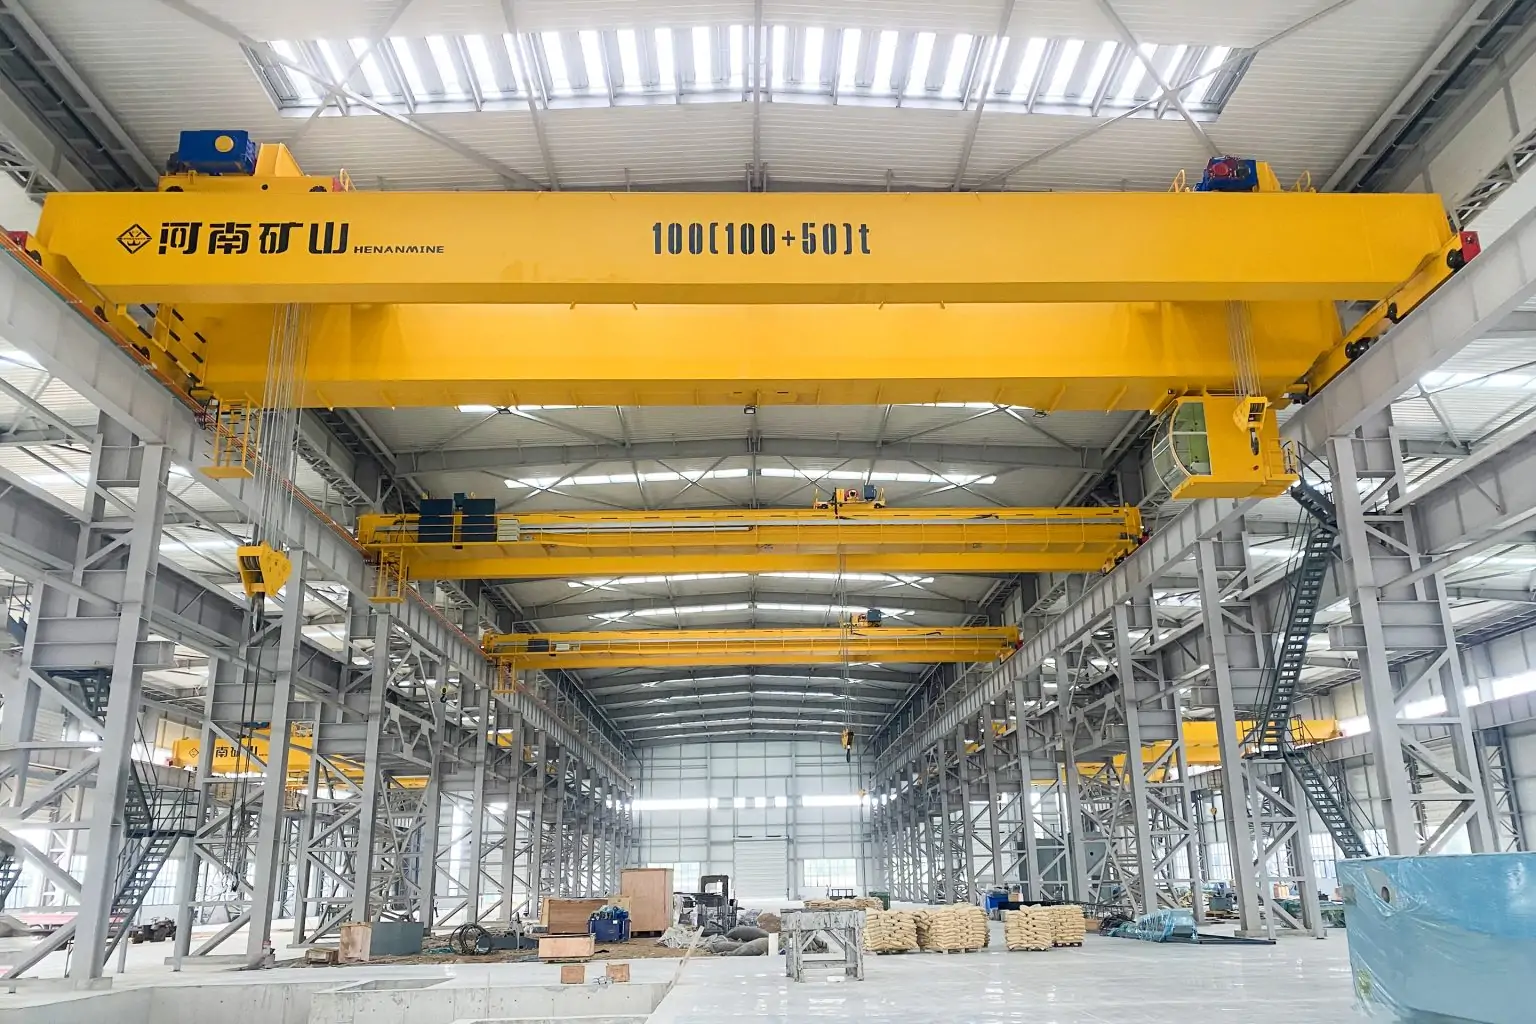
Medium-sized double girder gantry crane (lifting capacity 20-50 tons, span 15-30 meters): 1-2 weeks, due to the more complex structure, track installation and precision adjustment will take longer, and requires more manpower and equipment to cooperate.
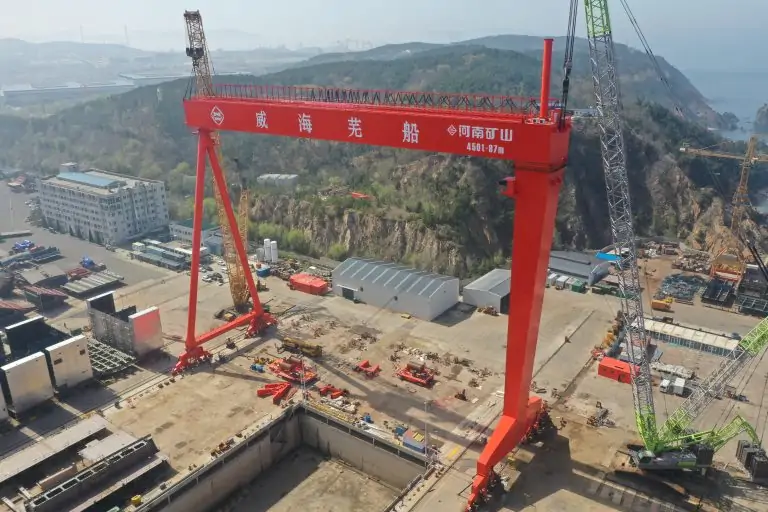
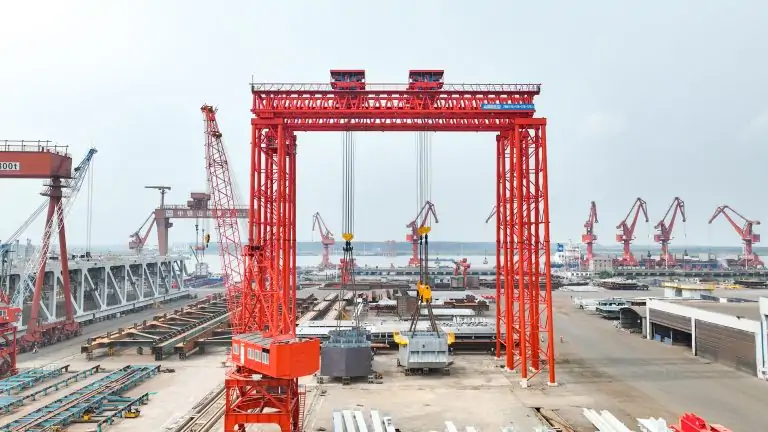
Large industrial or port cranes (lifting capacity of more than 50 tons, span of more than 30 meters): it takes weeks or even months, the components of this type of equipment are larger and heavier, the process of foundation preparation and installation and commissioning is more complex, and may also involve multi-disciplinary coordinated operations.
There are many factors affecting the installation time, weather condition is an important factor, rainy and windy days will affect the outdoor work; foundation preparation will also affect the progress, if the foundation is not completed on time or does not meet the requirements, it will lead to delay in the installation; the complexity of the equipment and the experience of the construction team is also very critical, the experienced team can deal with the problems in the installation process more efficiently to shorten the construction period.
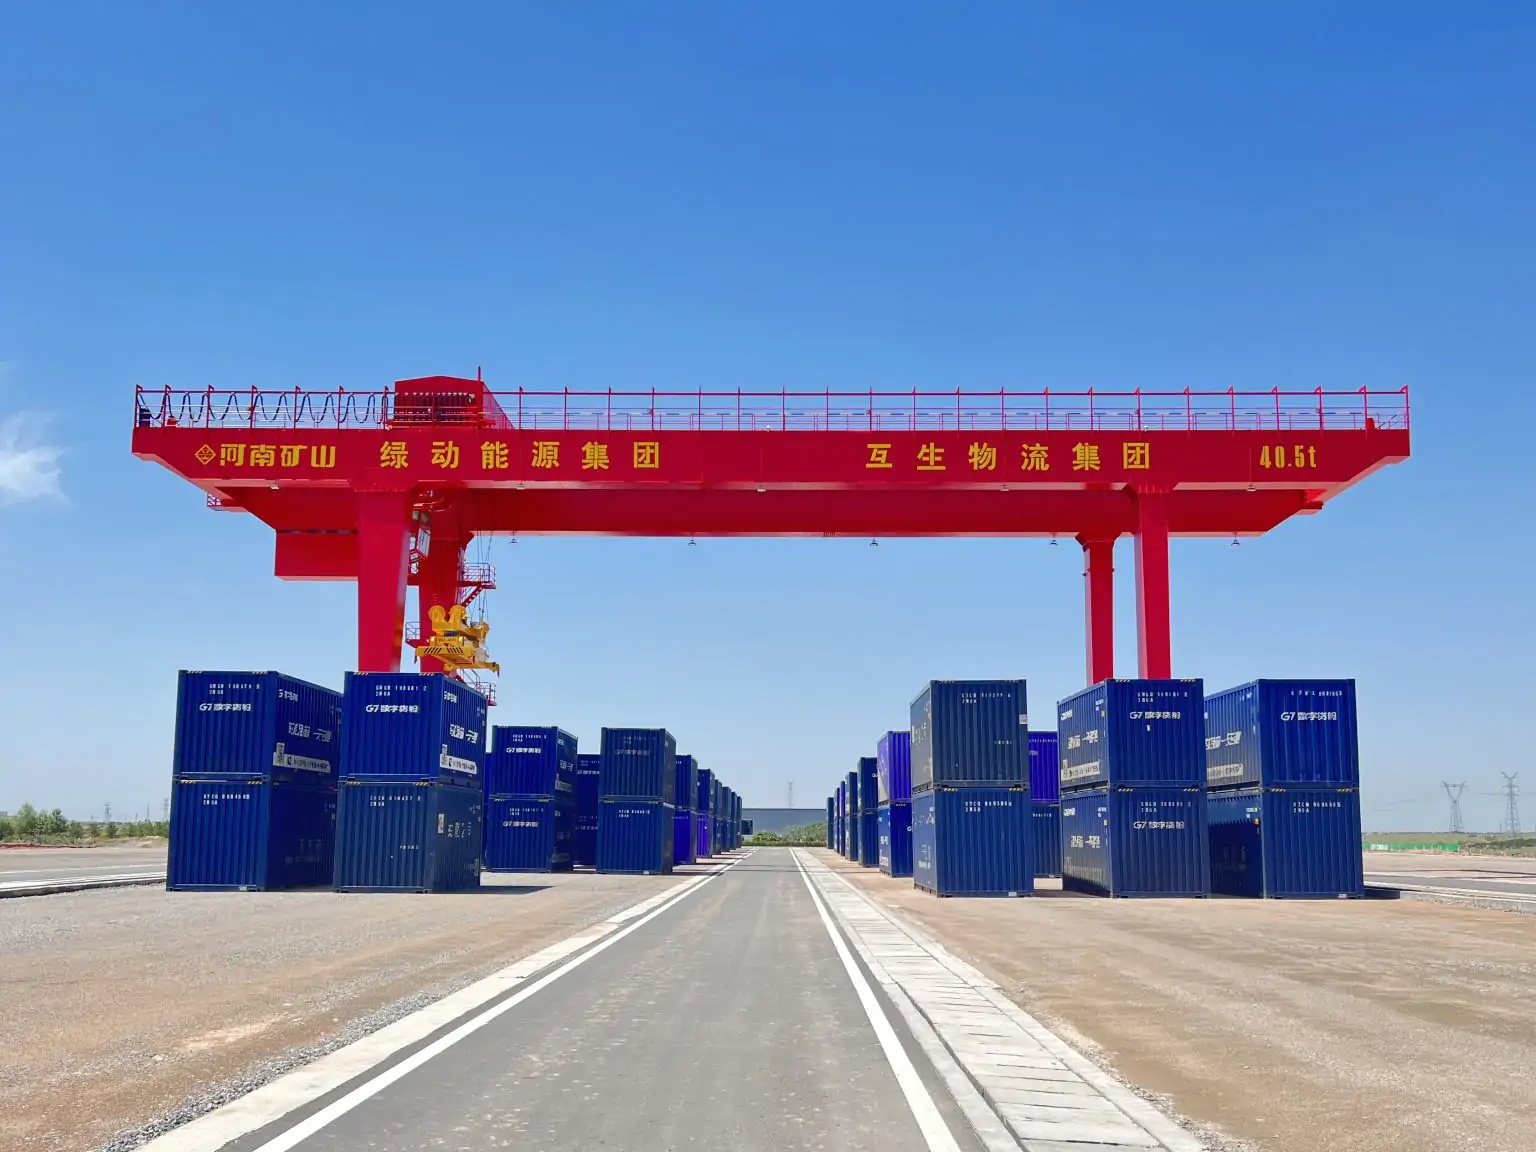
Rail-Mounted vs Rubber Tyred Gantry Crane Setup Differences
The core differences between rail-mounted and rubber-tired gantry crane installation focus on foundation requirements, track preparation and mobile system commissioning, which are compared as follows:
Comparison Item Rail-Mounted Gantry Crane (Rail-Mounted) Tire-Mounted Gantry Crane (Rubber Tyred)
Rail-mounted Specialized track must be laid, precise positioning and leveling are required, and the initial infrastructure investment is large No track is required, only flat and solid ground is needed, and the site modification cost is low.
Foundation requirements High, need to pour special concrete foundation, bear the equipment weight and load Medium, the ground needs to be compacted, the bearing capacity to meet the requirements of the equipment can run
Fixed, can only run along the track, limited working range Flexible, can move freely on level ground, suitable for different working areas
Installation Complexity Higher, strict track installation and alignment requirements, longer time consuming Lower, no track installation, focus on tire pressure adjustment and steering system debugging
Common Installation Mistakes to Avoid
Many installation problems can be avoided in advance, but the following common mistakes must be paid attention to:
Poor track alignment is the most common error of rail-type models, track offset, too large a difference in height, will lead to crane running jams, wheel wear and tear too fast, or even derailment, the track accuracy must be repeatedly checked after installation.
Insufficient foundation strength, such as insufficient concrete strength and insufficient maintenance time, will lead to ground settlement when the equipment is running, affecting the force of the track or tires, and will damage the structure of the equipment in the long term.
Neglecting load testing, skipping static or dynamic load testing in order to meet deadlines, unable to detect potential problems in equipment installation, and prone to failures in later operations.
Improper electrical grounding. Excessive grounding resistance or poorly connected grounding lines increase the risk of electrocution and may also affect the normal operation of the equipment’s electrical control system.
Skipping the commissioning documentation, not recording data during installation and commissioning, and not being able to trace the cause of subsequent problems with the equipment, making it difficult to repair.
When Should You Use the Manufacturer’s Installation Team?
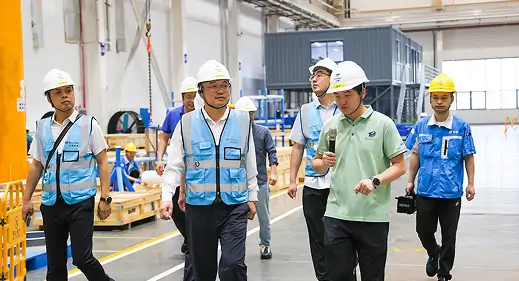
Although some companies may choose to install the equipment themselves, it is recommended to prioritize the use of the manufacturer’s professional installation team in the following cases:
Heavy gantry cranes (lifting capacity of more than 50 tons), the structure of such equipment is complex, the installation of high precision requirements, the manufacturer’s team is more familiar with the structure of the equipment and the key points of installation, to ensure the quality of installation.
Systems with large span and high lifting height, gantry cranes with a span of more than 30 meters or a lifting height of more than 20 meters, which are difficult to install and require specialized lifting equipment and technical solutions, the manufacturer’s team is more experienced.
Export projects, involving local installation standards, certification requirements, the manufacturer’s team can ensure that the installation meets local specifications and passes acceptance smoothly.
For projects that require official certification, such as ports, power plants and other scenarios with strict requirements for equipment safety, the manufacturer’s installation can provide complete installation reports and acceptance data for subsequent certification.
Frequently Asked Questions
How long does gantry crane installation take?
There is no fixed standard for installation time, it mainly depends on the type and size of the equipment. Small single girder models can take 3-7 days, medium sized double girder models 1-2 weeks, and large industrial or harbor models can take weeks or even months. Weather, foundation preparation, and the experience of the team will all affect the schedule.
Do I need a reinforced concrete foundation?
A rail-mounted gantry crane must have a reinforced concrete foundation with a strength of at least C30; a tire-mounted model does not need a special concrete foundation, but the ground needs to be compacted to meet the requirements of the equipment operation and to avoid ground settlement.
Can a gantry crane be relocated after installation?
Yes, but the difficulty and cost vary according to the model. Tire type crane relocation is relatively simple, only need to level the new site; rail type crane need to remove the old track and re-lay the track and foundation in the new site, which is more costly and requires a professional team to operate.
What certifications are required after setup?
Domestic projects need to provide installation acceptance report, equipment certification, special equipment use registration certificate (gantry cranes with a lifting capacity of more than 3 tons belong to special equipment, and need to be filed to the local market supervision department for certification); export projects need to comply with the local standards, such as CE certification, FDA certification.
Is installation included in the purchase price?
Not necessarily, usually the installation of small models may be included in the purchase price, the installation of large models is mostly a separate charge. When purchasing, it should be clearly agreed with the manufacturer whether installation, commissioning, acceptance and other services are included to avoid additional costs.
Conclusion
Installation of gantry cranes is a systematic project of “pre-planning – on-site inspection – step-by-step assembly – precision adjustment – load test”, and every aspect should not be sloppy. The quality of installation directly affects the safe operation and service life of the equipment, and professional installation can reduce maintenance costs and improve operational efficiency.
For enterprises, do not ignore the importance of installation in order to save costs or rush the schedule. Choose an experienced installation team, operate in strict accordance with the standard process, and do a good job in each step of the acceptance work, in order to make the gantry crane long-term and stable for the production service.
If you are not sure about the installation process and technical requirements, it is recommended to consult the engineering team of the manufacturer in time to get professional guidance and support, so as to avoid losses caused by improper installation.
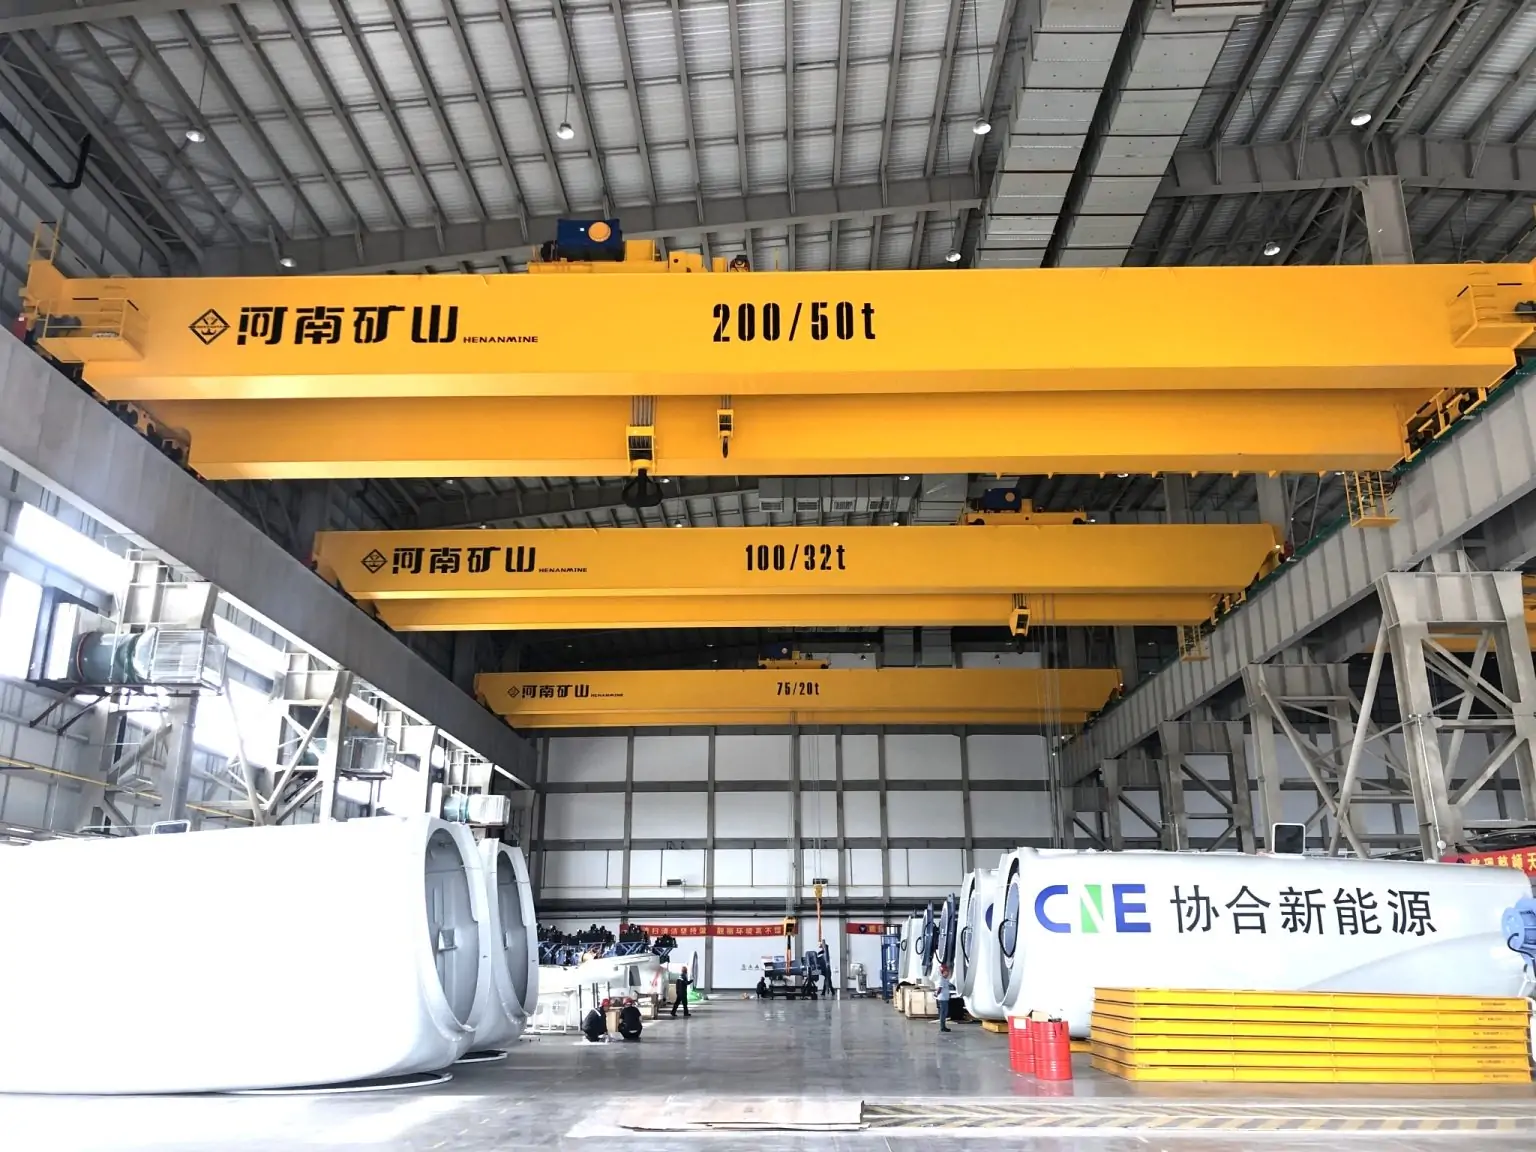
Henan Mine Crane Factory Custom”
If you are preparing for the installation of gantry cranes and are not sure whether the site meets the requirements, or you need a professional installation program, you may want to submit your site layout and equipment parameters, our engineers will provide you with a free installation assessment.
Henan Mine Crane Factory supply, as a professional crane manufacturer, integrates R&D, design, manufacturing, sales and service to provide customers Please feel free to contact us, we will provide you with free design drawings, and field survey!